


- Joined
- Oct 4, 2009
- Messages
- 304
- Reaction score
- 421
- Location
- dutchess county, ny
- What state or country do you live in
- New York
This is my 58 gallon mixed reef which just turned 19 years old this month. The large hammer coral on the right is supported by a shelf I made several years ago which allows for easy fragging, which occurs about twice a year.
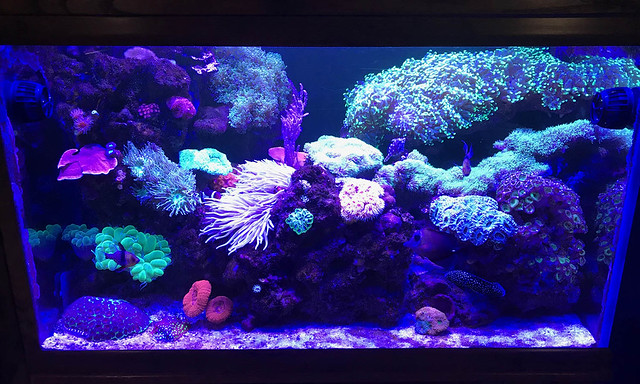 SR 2018 by Randall Douglas, on Flickr
This is the shelf, which is made from eggcrate and a two-part epoxy putty called Apoxie-Sculpt. The only visible part is the front edge, and is usually engulfed by coral within a couple of months after fragging. The eggcrate is not visible at all.
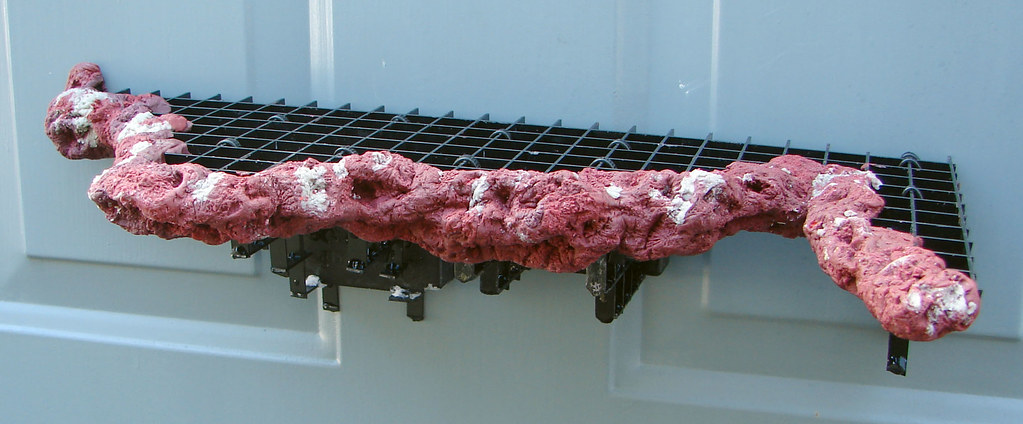 frag shelf by Randall Douglas, on Flickr
After fragging the hammer, I usually hold the frags for a couple of months (depending on how lazy I am at the time) in a simple 10 gallon tank, with the branches stuck into an eggcrate box. No filtration, weekly water changes from the main tank.
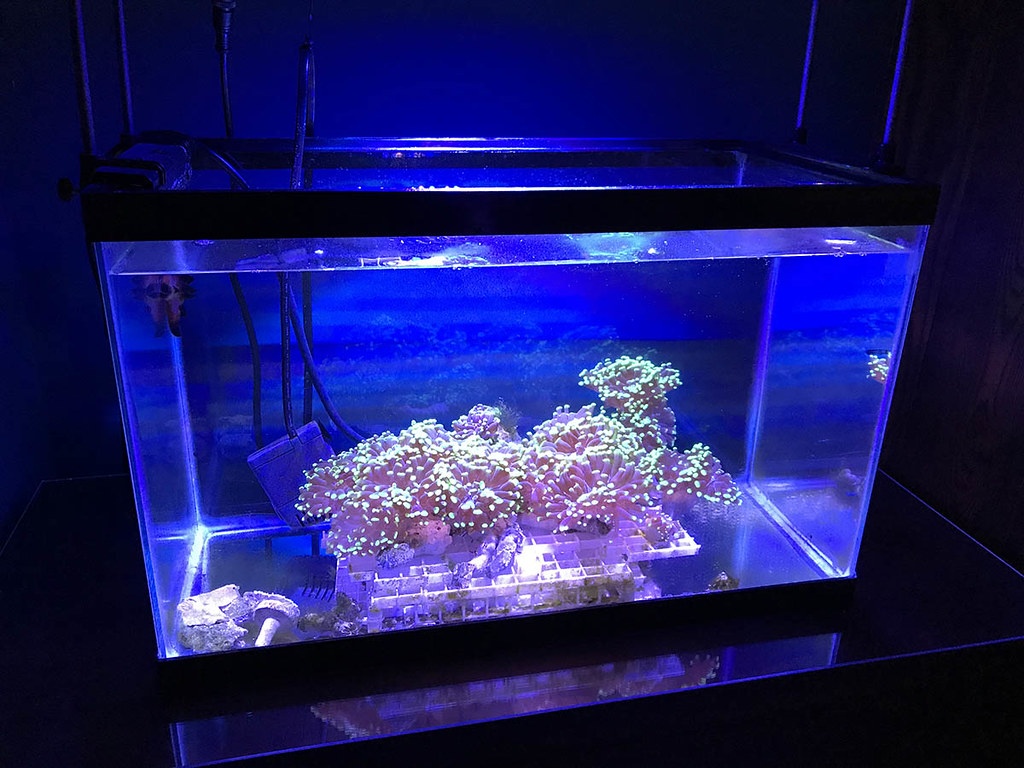 current frag tank 6-2018 by Randall Douglas, on Flickr
There is a chocolate chip starfish in that tank. I got a pair of harlequin shrimp last year, so I keep the starfish in the tank until feeding time. They do occasionally eat the hammer coral, but I have plenty so no biggie. I found out that they really like montipora cap frags. So don't put them in your display.
Since this frag tank has become "permanant", I didn't want to look at the sterile tank all the time, so I decided to make something a little more interesting. I designed it in my 3D program and came up with this. The highest platforms need to be on the outer edges so the corals don't get burnt by the Maxspect Razor light, the next level down is a little more centered to the light, with the bottom level being directly under the light but far enough away that it doesn't get burnt. The structures will all be covered with Apoxie-Sculpt to make them look like rock, just like the shelf. Here is the 3D model design:
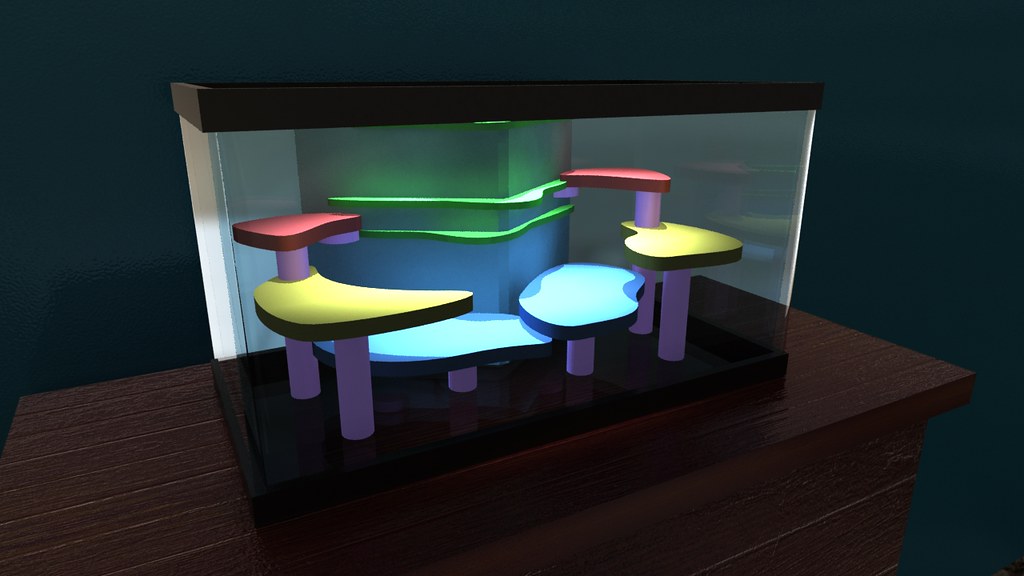 frag tank 3d model by Randall Douglas, on Flickr
I used a top-down wireframe view of the model to print out a template that I used to trace the shelf shapes on to plexi.
 template for forums by Randall Douglas, on Flickr
Then I cut out the shelves and supporting PVC pipes. The structure in the background was from a previous nano tank, and will be modified slightly. Its purpose is to hide the mp10 and heater which will be behind it. It will also have some gsp's or other encrusting corals on it, which will hopefully not be eaten by starfish. The shelves still need to be drilled for hammer frags. You can see the printed template underneath everything.
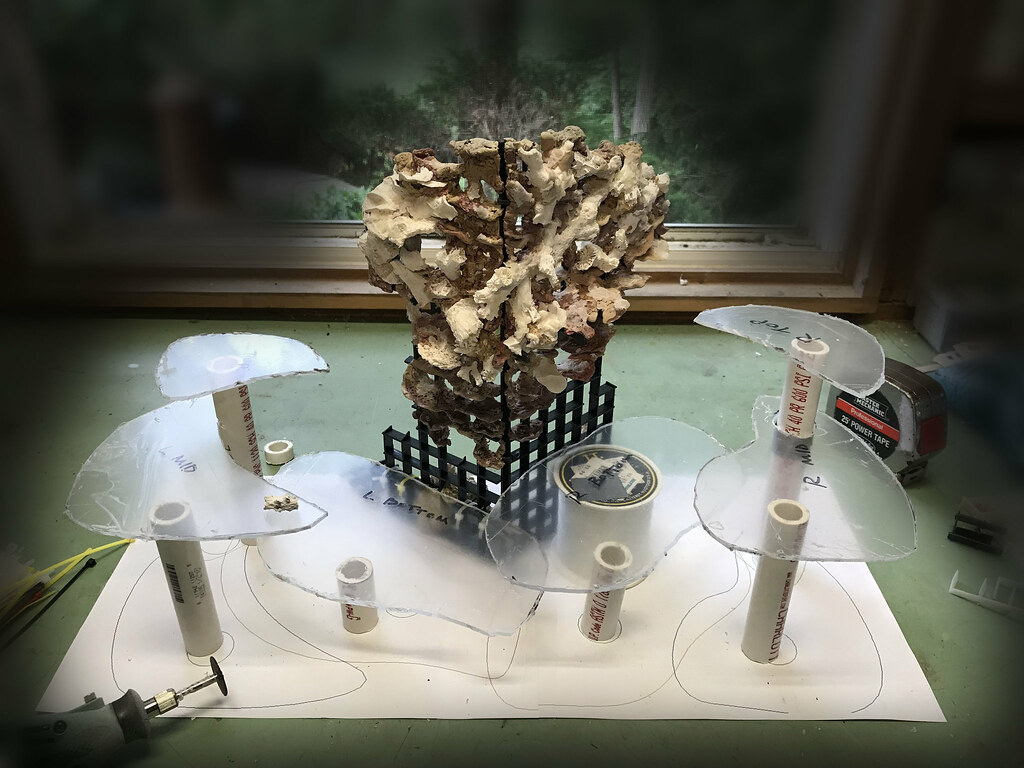 structures 01 by Randall Douglas, on Flickr
The last thing that I have done is to dremel the pipes to make some holes for pods, and just generally rough them up prior to the epoxy stage, which will be next. Wish me luck.
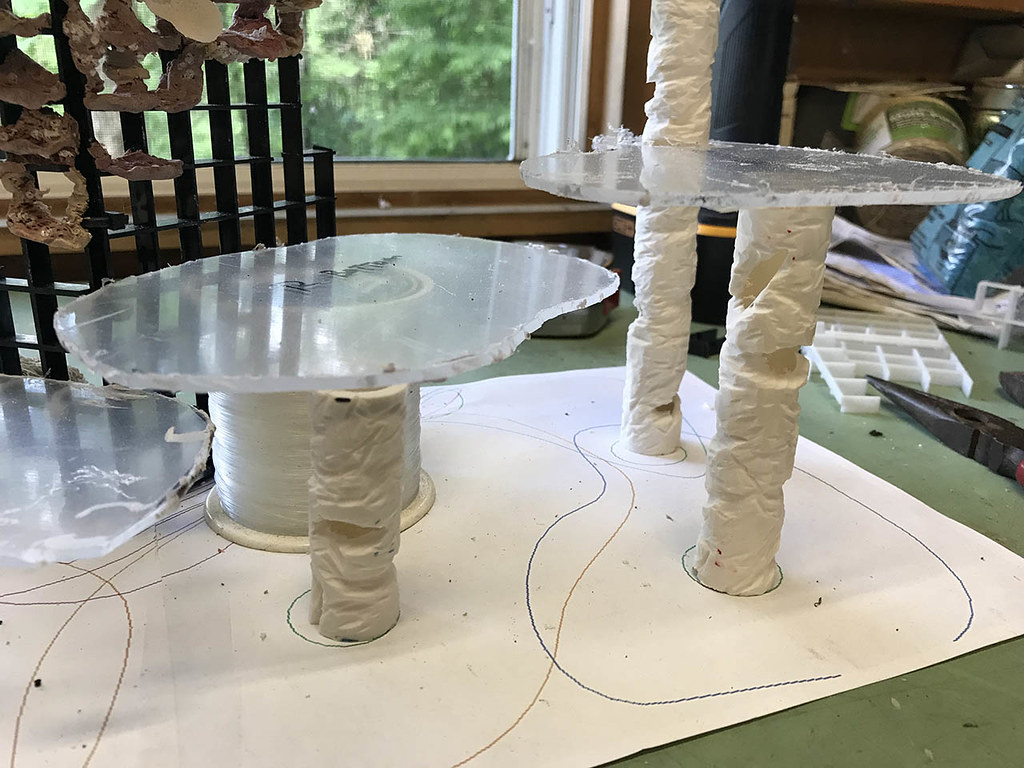 supports after dremel by Randall Douglas, on Flickr
SR 2018 by Randall Douglas, on FlickrThis is the shelf, which is made from eggcrate and a two-part epoxy putty called Apoxie-Sculpt. The only visible part is the front edge, and is usually engulfed by coral within a couple of months after fragging. The eggcrate is not visible at all.
frag shelf by Randall Douglas, on FlickrAfter fragging the hammer, I usually hold the frags for a couple of months (depending on how lazy I am at the time) in a simple 10 gallon tank, with the branches stuck into an eggcrate box. No filtration, weekly water changes from the main tank.
current frag tank 6-2018 by Randall Douglas, on FlickrThere is a chocolate chip starfish in that tank. I got a pair of harlequin shrimp last year, so I keep the starfish in the tank until feeding time. They do occasionally eat the hammer coral, but I have plenty so no biggie. I found out that they really like montipora cap frags. So don't put them in your display.
Since this frag tank has become "permanant", I didn't want to look at the sterile tank all the time, so I decided to make something a little more interesting. I designed it in my 3D program and came up with this. The highest platforms need to be on the outer edges so the corals don't get burnt by the Maxspect Razor light, the next level down is a little more centered to the light, with the bottom level being directly under the light but far enough away that it doesn't get burnt. The structures will all be covered with Apoxie-Sculpt to make them look like rock, just like the shelf. Here is the 3D model design:
frag tank 3d model by Randall Douglas, on FlickrI used a top-down wireframe view of the model to print out a template that I used to trace the shelf shapes on to plexi.
template for forums by Randall Douglas, on FlickrThen I cut out the shelves and supporting PVC pipes. The structure in the background was from a previous nano tank, and will be modified slightly. Its purpose is to hide the mp10 and heater which will be behind it. It will also have some gsp's or other encrusting corals on it, which will hopefully not be eaten by starfish. The shelves still need to be drilled for hammer frags. You can see the printed template underneath everything.
structures 01 by Randall Douglas, on FlickrThe last thing that I have done is to dremel the pipes to make some holes for pods, and just generally rough them up prior to the epoxy stage, which will be next. Wish me luck.
supports after dremel by Randall Douglas, on Flickr





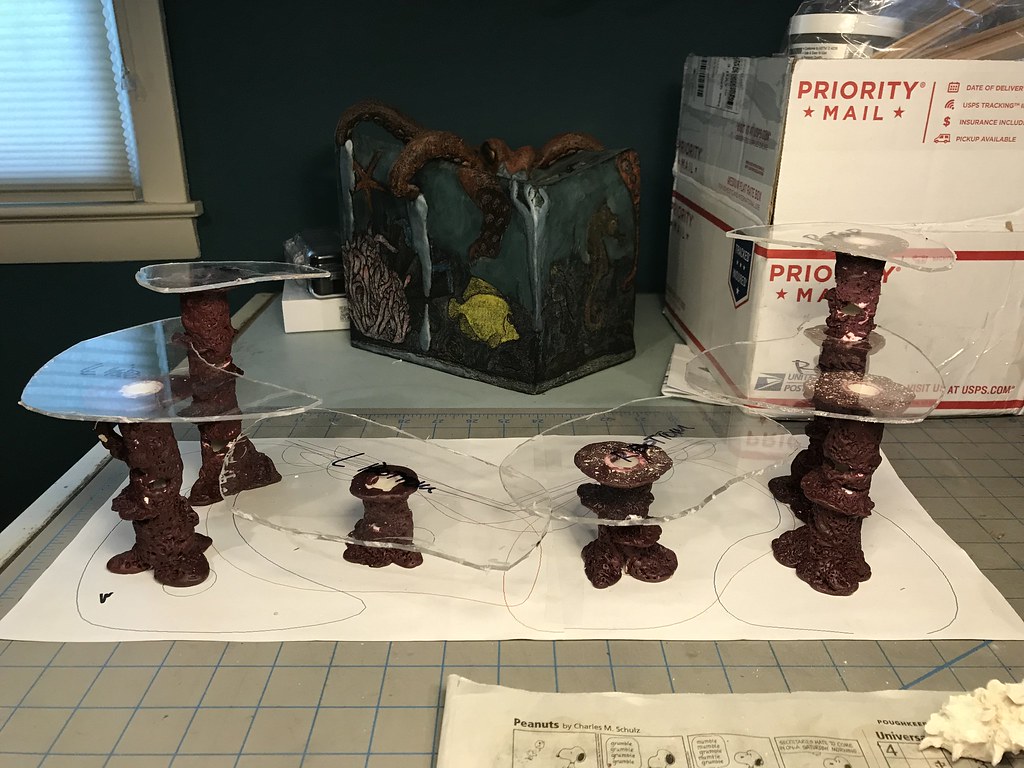 IMG_0754
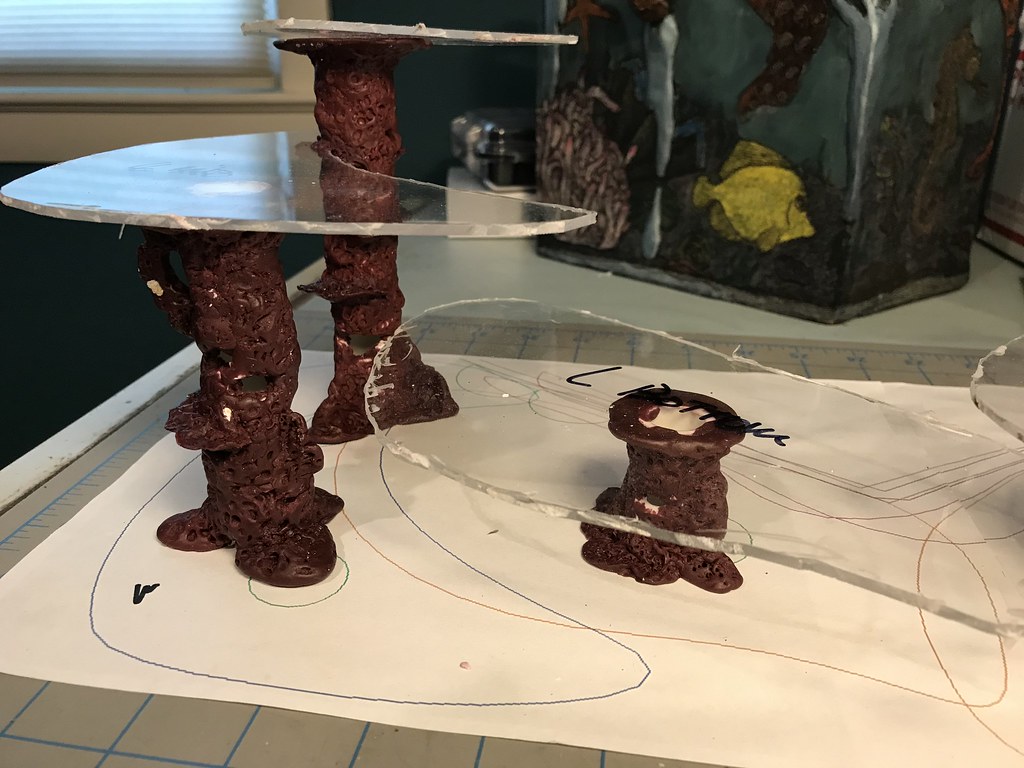 IMG_0756
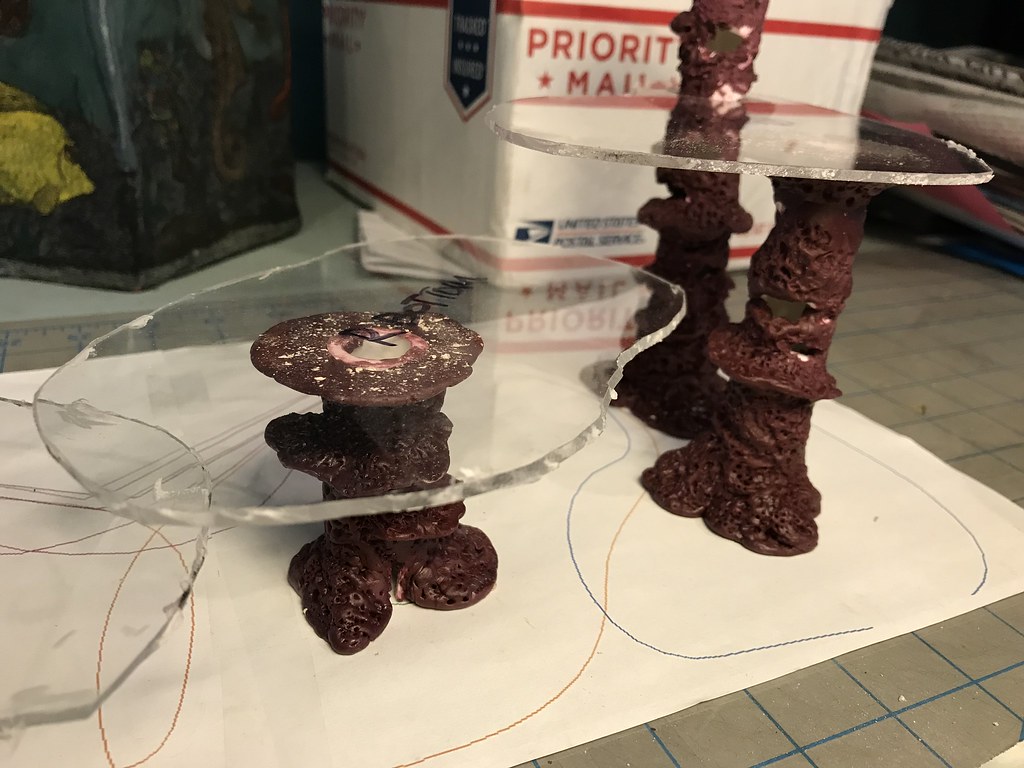 IMG_0755
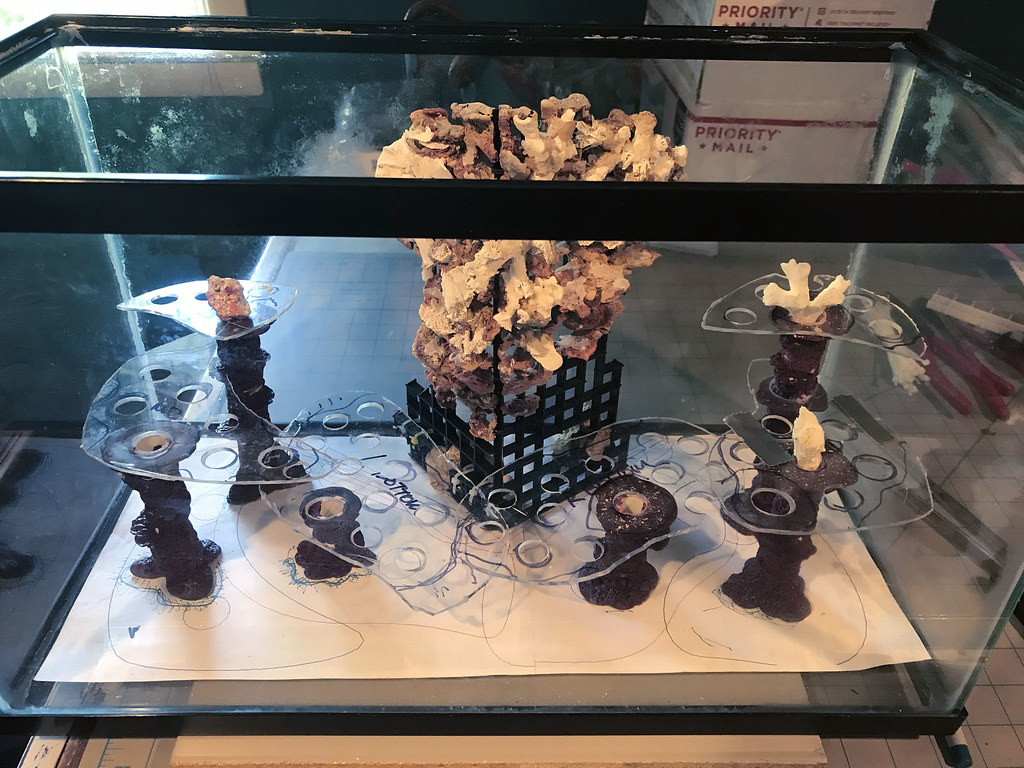 drilled shelves













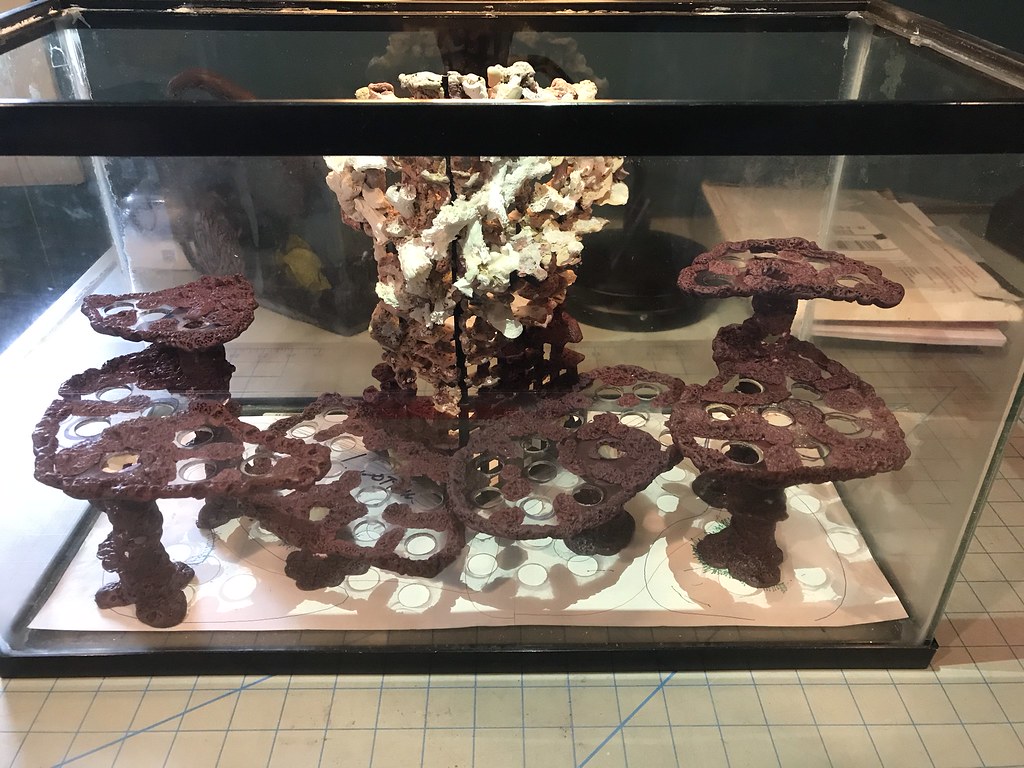 IMG_0777
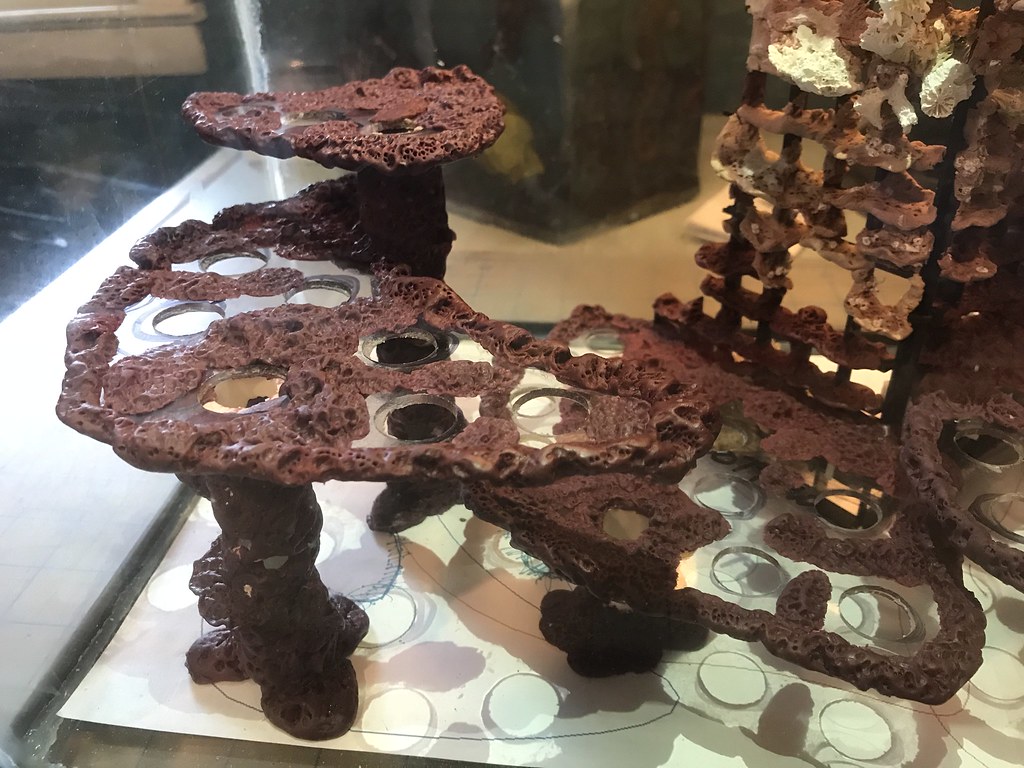 IMG_0778
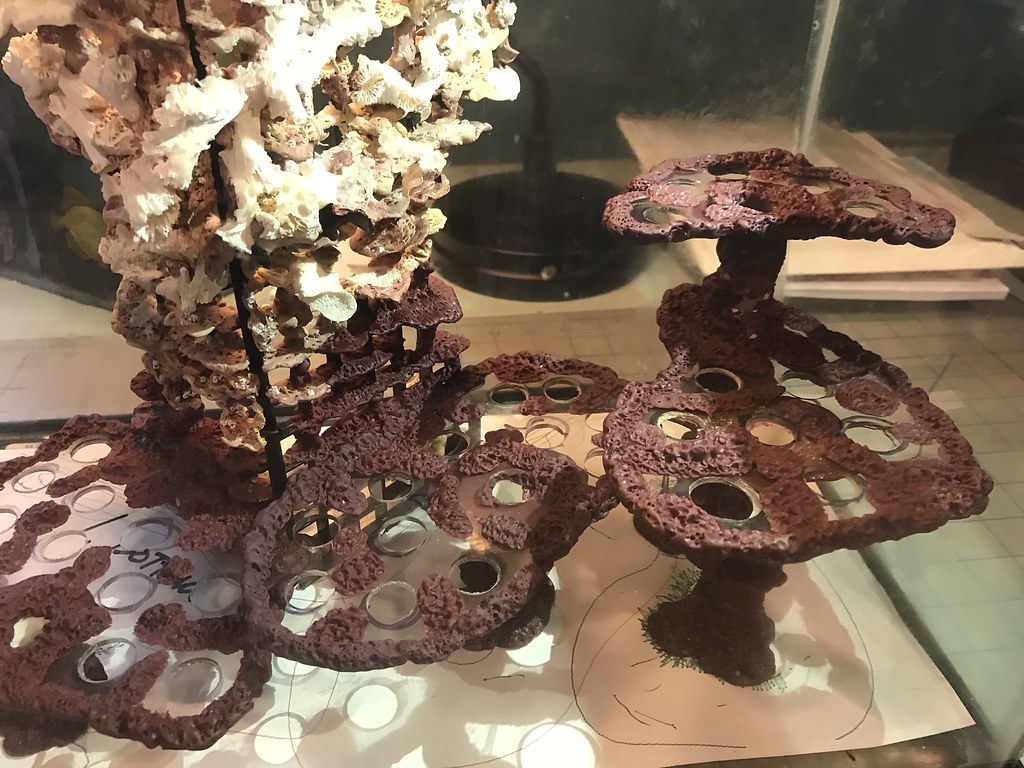 IMG_0779










