ADA 120-P Reef Build - 65 Gallons

illuminata

Active Member
View Badges
Joined
May 21, 2017
Messages
246
Reaction score
208
Rating - 0%
0   0   0
Greetings,
Been on this project for some time now so thought I'd start sharing my progress (I'm about 40% into it). From building a stand from scratch to drilling glass my first time I feel it's coming along quite well. Having two toddlers and newborn I get to work on this maybe an hour or two once a week so it's been a slow journey.

Tank:
ADA Cube Garden 120-P Aquarium (Ultra High Clarity Glass) - 65 Gallons (48x18x18)
(https://aquaforestaquarium.com/products/ada-cube-garden-120p-aquarium-ultra-high-clarity-glass)


Stand:
48" x 18" x 36"

EDITED Equipment List:
-Sump: Elos 30
-2x XR30 G4P w/diffusers, Apex Wifi, COR-15, WAV's, ATK, Nyos 120

Edited:
-2x Kessil a360x

Edited:
-2x XR15 G5, COR-20


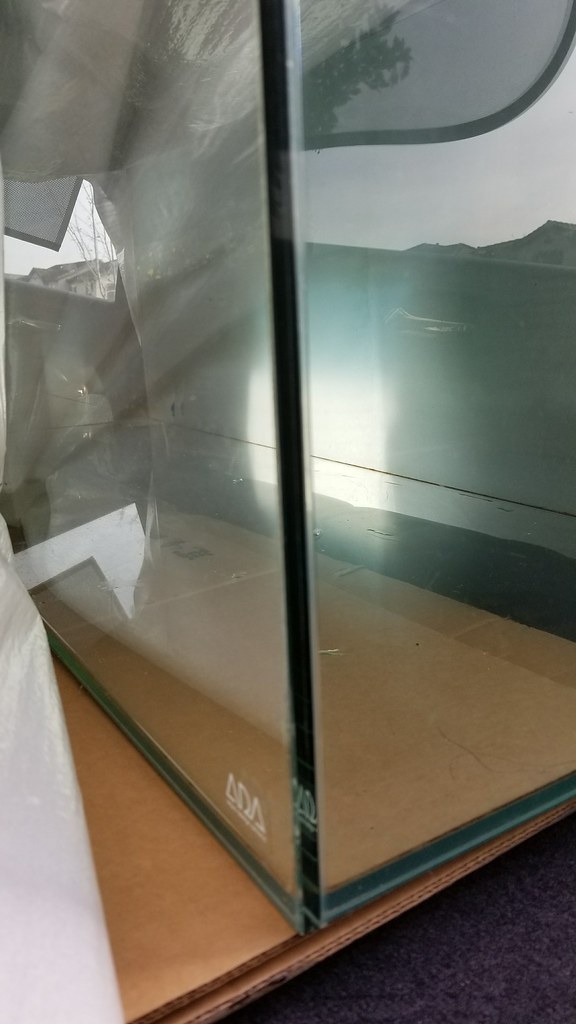
I finally got a hold of a used 120P so I had to pick it up. Previous owner had it planted with a frosted vinyl background.


38853085685_279ba840fb_b.jpg


27972853269_9cea8f03ca_b.jpg
 
Last edited:
I wanted a 36" tall stand so decided to try and build my own (still work in progress). Watched a couple videos on youtube and headed to Home Depot, bought 9x 2x4's and 2 boxes of wood screws.

I had nothing to cut these with so I purchased a few things off Amazon. I went cheap on the equipment since I figure I'm only going to build one stand.
Miter Saw:
https://www.amazon.com/gp/product/B01LWYCCCT/ref=oh_aui_detailpage_o07_s00?ie=UTF8&psc=1
Jigsaw:
https://www.amazon.com/gp/product/B016100EIK/ref=oh_aui_detailpage_o07_s00?ie=UTF8&psc=1
Sander:
https://www.amazon.com/gp/product/B00MLSS1SW/ref=oh_aui_detailpage_o04_s00?ie=UTF8&psc=1
Woodglue:
https://www.amazon.com/gp/product/B001NN5T22/ref=oh_aui_detailpage_o06_s00?ie=UTF8&psc=1


This is literally the first time I've used a Miter Saw.
39701501292_f46cfa8d4d_b.jpg


27954095819_3a12eb7846_b.jpg


All pieces cut.
27954095759_47fcf2fc3e_b.jpg
 
As an Amazon Associate we earn from qualifying purchases.
I found that my garage flooring wasn't completely even so I decided to assemble the stand/wood pieces inside the house.

I also purchased a right angle ruler for measurements and ratchet clamps.
2x Ratchet clamps:
https://www.harborfreight.com/24-in-ratcheting-bar-clampspreader-62112.html

39701501152_bea32f0402_b.jpg


27954094909_f1446f77db_b.jpg


27954097619_ce62d6f5ca_b.jpg


Coming along.
24863346437_fc4cc1072c_b.jpg


25861026208_5e90b8f8e3_b.jpg


I didn't realize that some of the 2x4's could be warped so there was a gap I had to fill. I used the miter saw to slice up some thin pieces from some left over wood. Glued it up and hammered them in.

27954097689_3b421078bd_b.jpg


Back to Home Depot for skin and doors. I chose a 1/4" skin and 3/4" mdf doors. Hindsight, if I were to do it all over again, I would reduced the size of the stand/2x4's and purchased a larger skin so I can incorporate the left over skin wood for doors.

24863346277_a0ba0b77b8_b.jpg


Got the top and sump flooring cut out and also test fitted the mdf doors.

25861025918_f9480bb9cc_b.jpg


39701504092_879982c164_b.jpg
 
Last edited:
One of my dilemmas was what kind of overflow I wanted. External (reefsavvy/modular marine) or Internal (corner/center). I decided to go with the internal and since I find myself looking at the sides quite often I chose to go with the center.

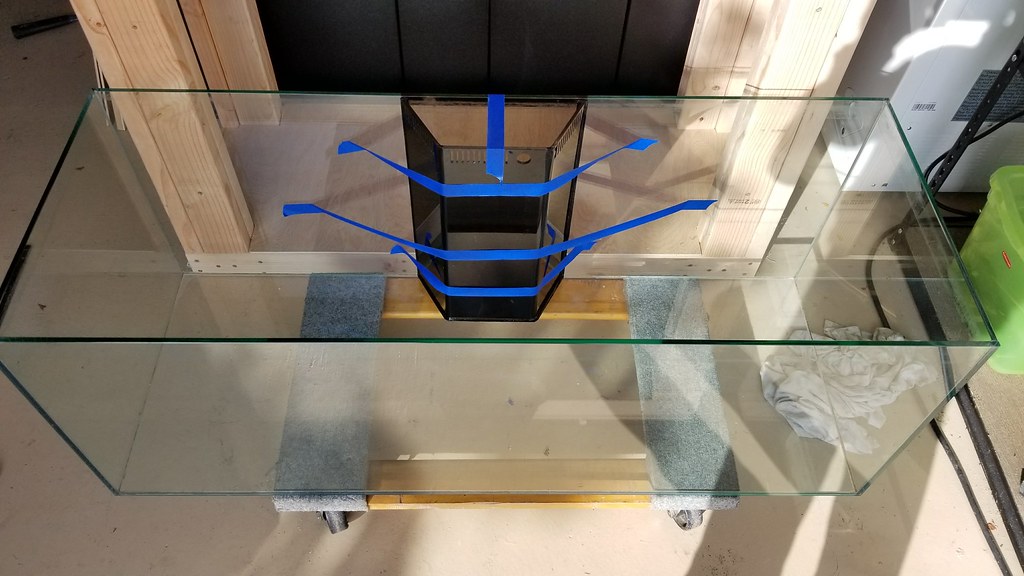
I remember seeing the Cadlights overflow and really liked the appearance of the trapazoid style. I did some research and found that the Versa 70 is 18" tall -- perfect! So I got in touch with them and was able to purchase the overflow and plumbing.

Test fitting and plumbing.
39701504022_3a155b68a1_b.jpg


24863345977_77e860f94e_b.jpg


Overflow lid.
39701503852_0cb42c36c0_b.jpg


Then the fun begins, drilling this thing. It was pretty easy but hindsight, I should have made a test run first since i've never drilled glass before. I just went for it.

Lining things up for drill+silicone.
39701503632_95b03a50c0_b.jpg


25861025858_68cdfdc49a_b.jpg


25861025728_63462d2b7c_b.jpg


39701503322_f8943a9053_b.jpg


Needed some drill bits so I purchased these off Amazon:
https://www.amazon.com/gp/product/B07252J2Y7/ref=oh_aui_detailpage_o09_s00?ie=UTF8&psc=1

And drilling begins. Since it was the first hole inside the tank, I just filled the tank up enough for a little layer of water. The second and third hole I had to have the water run since the water was being drained.
24863345167_5a93dfb82d_b.jpg


39701503052_d6524f2322_b.jpg


All done. Testing the piping and overflow fitment.
24863344357_5105beabda_b.jpg


25861025528_8bb822e5b9_b.jpg


Time to put the overflow in with silicone - tape for spillage.
Caulk gun:
https://www.harborfreight.com/9-in-caulking-gun-62822.html
Silicone used:
https://www.amazon.com/gp/product/B00EZB2MDI/ref=oh_aui_search_detailpage?ie=UTF8&psc=1

39732985831_3d85f86d96_b.jpg


39732987891_2c4f001dd3_b.jpg


Turned out rather clean.
39701502322_5f5894d661_b.jpg


39701502442_44fc3a7b23_b.jpg


Time to cure.
27954095979_e603b7df29_b.jpg


25861025058_2a1239424d_b.jpg


39701501502_86e2385410_b.jpg
 
As an Amazon Associate we earn from qualifying purchases.
Fitting a black background on. Was thinking about painting but didnt know how the RMS mounts will effect the paint once clamped.

39971603151_c7017ddc3f_b.jpg


Test fitting tank and front skin and marking cut outs for overflow.

28192125839_51c4d2b8d2_b.jpg


39971604341_86bb60e7dc_b.jpg
 
Overflow section drilled out.

26246894358_182f7cd189_b.jpg


For the skin on the back, I added some some small cutouts (for moving purposes and cords). Might add more closer to the bottom to hide cords better.

40121220371_af01466745_b.jpg
 
Made a template for the hinges. Will have 4 doors (2xfront and 2xsides)

26902628958_8b5f997663_c.jpg


38962504440_e08c0fed55_c.jpg


Front doors are in..

39877806215_a021436013_c.jpg
 
Quick update. All hinges are in and outer skin glued and nailed. Next steps is to prime this thing.

39391111370_ce9f149d55_c.jpg
27327072838_81e5d0219e_c.jpg


39391111190_85bc350d85_c.jpg
 
Got some priming and sanding done. Next steps, lay some silicone I have left over in the cracks inside the stand and then spray! (semi gloss black and black fridge paint inside.. Almost there..

40793243834_040eff7efc_c.jpg


27635041778_7be654c72e_c.jpg


40914733515_dba0dd95c5_c.jpg


41096446014_1236c677fb_c.jpg


41096446434_0084bcd60c_c.jpg
 
Finally had the chance to put some paint on along with the doors. I used Black fridge paint for the interior and Semi-Gloss on the exterior. I lined up the interior gaps with black silicone (same thing I used for the overflow). By the way, I hate hinges.. Out of everything, putting the concealed hinges in must have been the most annoying part.

Waiting for things to dry..
40626897640_afd517c620_c.jpg


A few chip marks below the door due to being to rough when lining up..
42434606261_eb4fd0a7c4_c.jpg


Final product -- sort of, still need a day or two to completely dry. Did I mention I hate hinges?
42434606691_f2fafe3fd0_b.jpg
 
Was able to move forward today. Added some push magnet latches to each door. Cut up the foam mat between the tank and stand and put on the piping.

42008783584_56200eab09_c.jpg


41827074015_5127b03ce9_c.jpg


28853117868_c0101ac25d_c.jpg


42726505981_0367d62786_c.jpg


28853117638_9bacb8e7c0_c.jpg


I will be hard piping this, not sure if I want to go colored or keep it sch80 grey. I picked up a sapphire 26 so dark blue might be in the works. Also got a new skimmer. My equipment actually changed quite a bit from my original post.

42726505431_9286202ac0_b.jpg
 
Finally had the chance to put some paint on along with the doors. I used Black fridge paint for the interior and Semi-Gloss on the exterior. I lined up the interior gaps with black silicone (same thing I used for the overflow). By the way, I hate hinges.. Out of everything, putting the concealed hinges in must have been the most annoying part.

Waiting for things to dry..
40626897640_afd517c620_c.jpg


A few chip marks below the door due to being to rough when lining up..
42434606261_eb4fd0a7c4_c.jpg


Final product -- sort of, still need a day or two to completely dry. Did I mention I hate hinges?
42434606691_f2fafe3fd0_b.jpg
I here you on the hinges!!
 

IF YOU HAD TO TAKE A REEFING EXAM, WOULD YOU PASS?

  • Yes!

    Votes: 32 45.7%
  • Not yet, but I have one that I want to buy in mind!

    Votes: 9 12.9%
  • No.

    Votes: 26 37.1%
  • Other (please explain).

    Votes: 3 4.3%
Back
Top