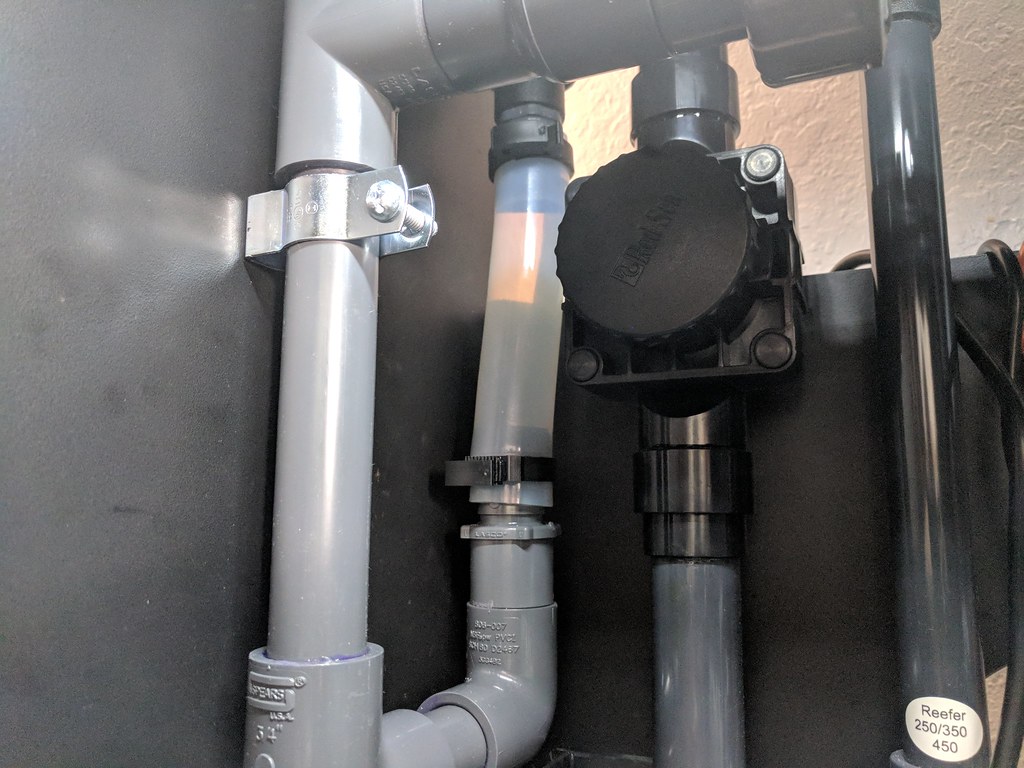
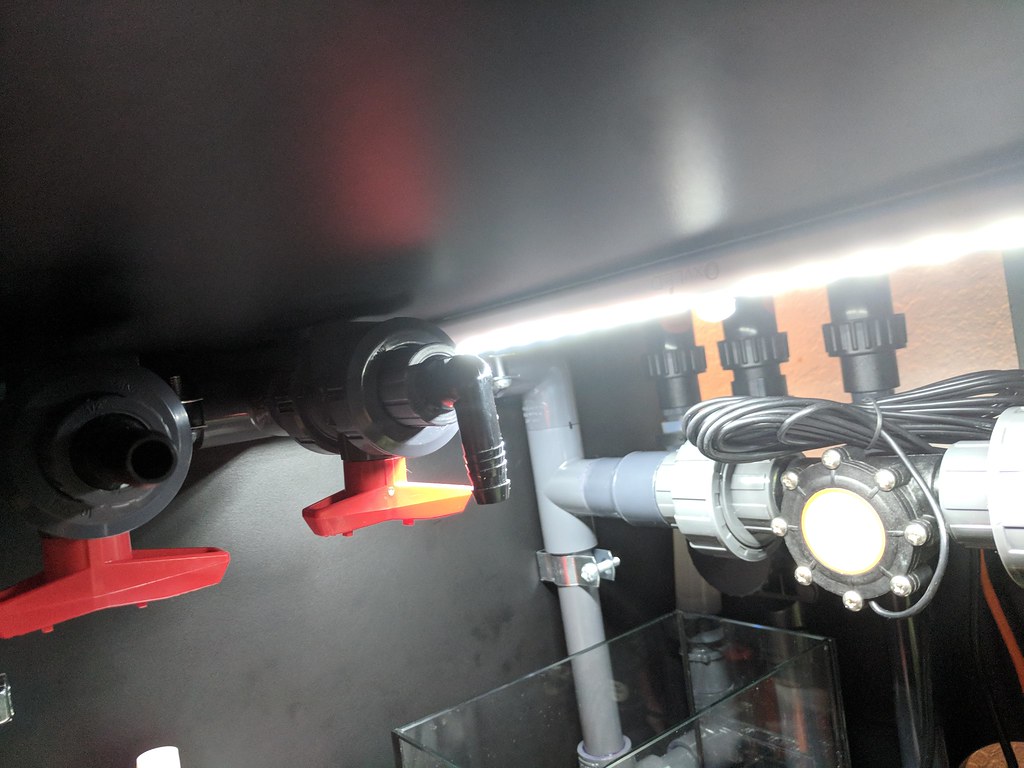
"Giant Mini Fridge" - Red Sea MAX E-170

Post from Oct 3, 2017:

This particular model has an always on switch if the motion sensor begins to bother me. :)

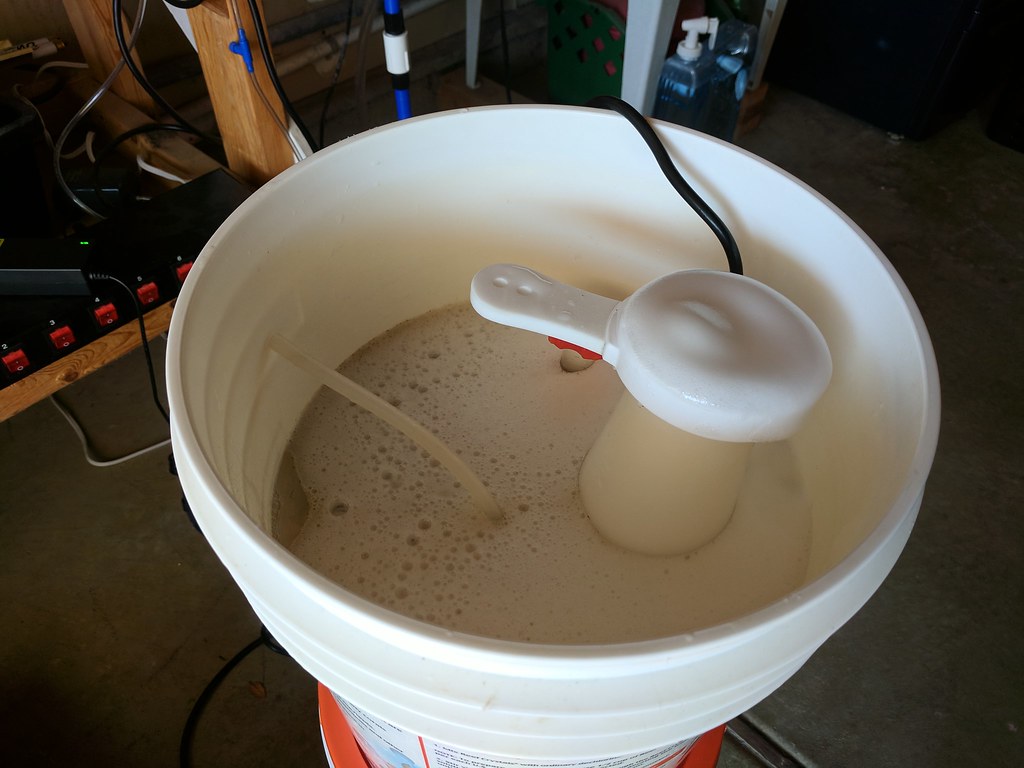
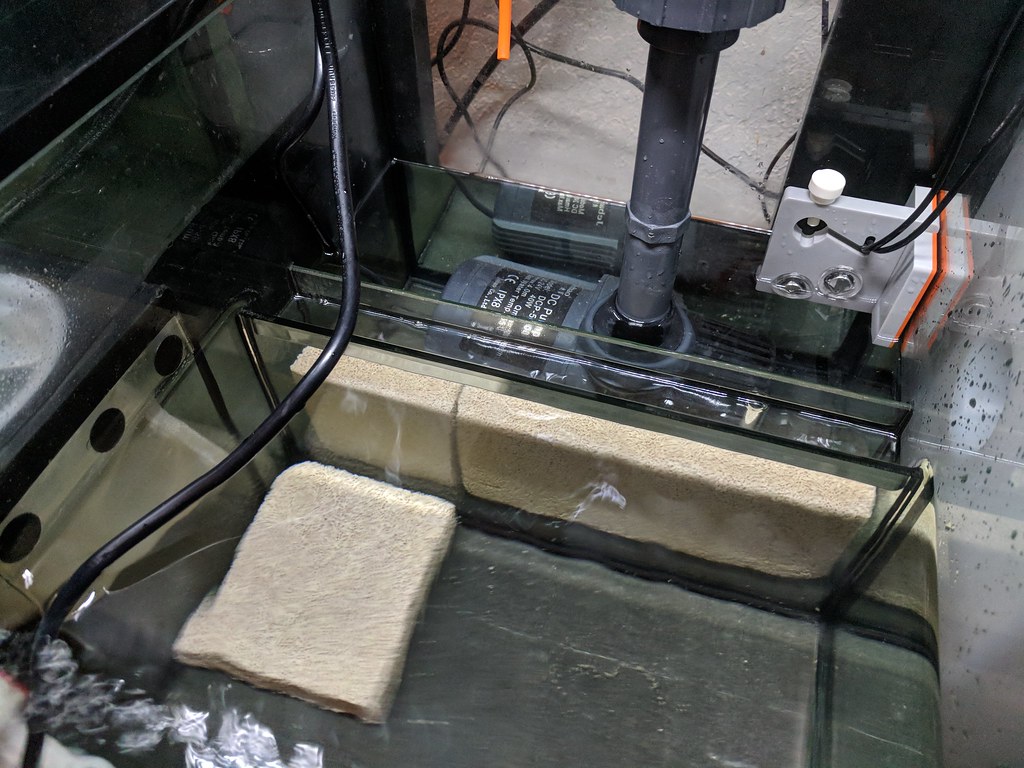
While waiting on my rock to dechlorinate, I thought of trying the skimmer pump from my Red Sea skimmer on my EuroReef body. I used a 1-1/4" PVC elbow to a 3/4" reducer bushing to get everything to mate up. There was still a small gap between the 1-1/4" end and the o-rings on the pump. Luckily I had a length of thin walled PVC that filled the gap perfectly. I cut a short length and used it as a shim.

37226817400_4ba9ed04d0_b.jpg


While it seems to work, it's a little underwhelming. I had to adjust the overflow more than half way up just to get bubbles in the neck of the skimmer body.

37436688256_8ffa3a8e16_b.jpg


This was a fun experiment, but I'll just have to wait to get a "new" skimmer.

 
Post from Oct 4, 2017:

So far a 36hr bleach bath, 3 day tap water and double dose of prime Today starts the 3 day soak in RO/DI and more prime. The plan after that is a 2 day dry out in the sun over the weekend then glue/putty/aquascaping.

37510462372_24194b0598_b.jpg
 
Post from Oct 6, 2017:

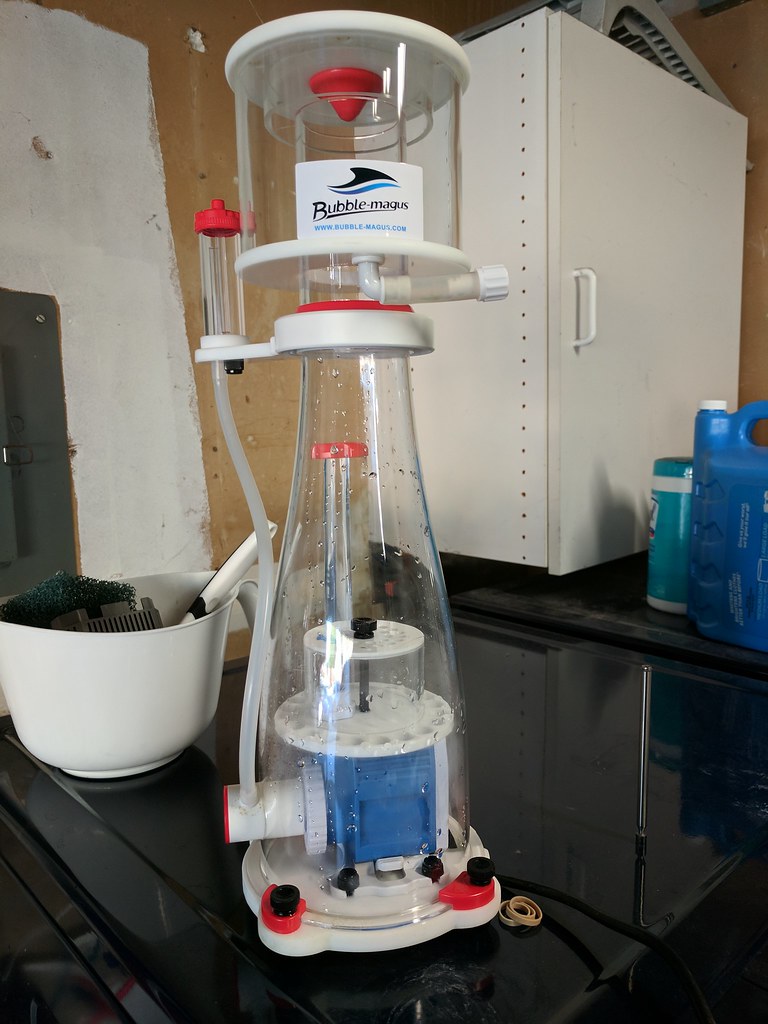
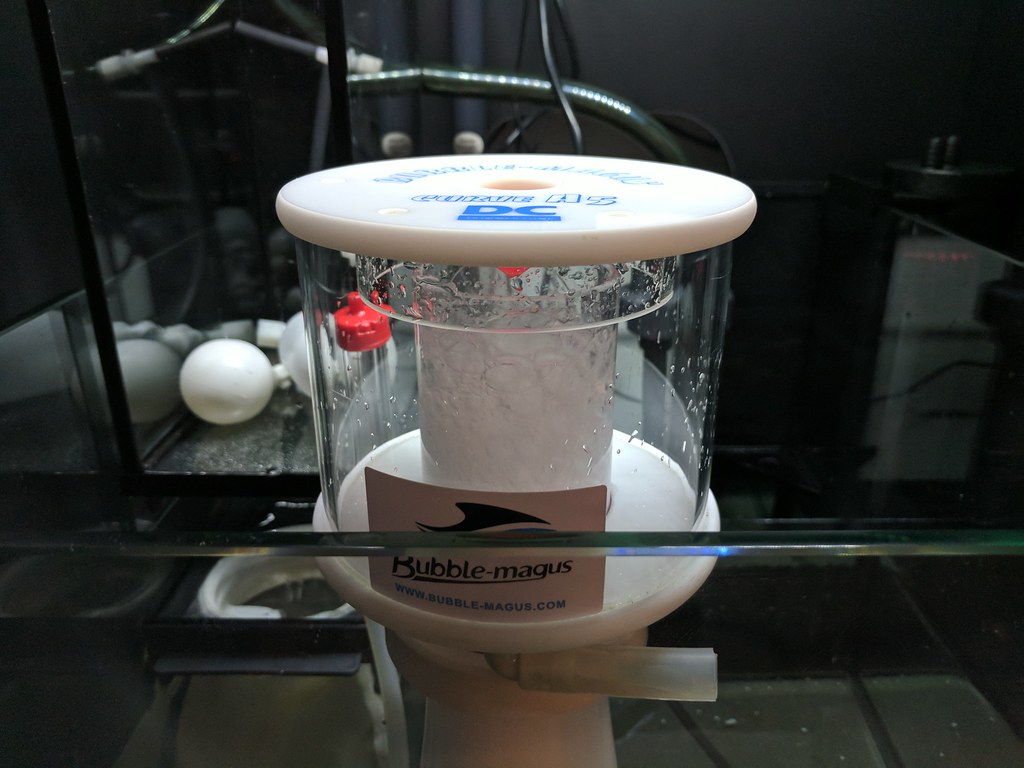
I found my "new to me" skimmer. Thanks everyone for the advice. I was lucky enough to find a used Bubble Magus Curve A5 locally. First thing, the vinegar bath.

36872149633_a2620cedb5_b.jpg


All cleaned up.

23689369218_ce54059636_b.jpg


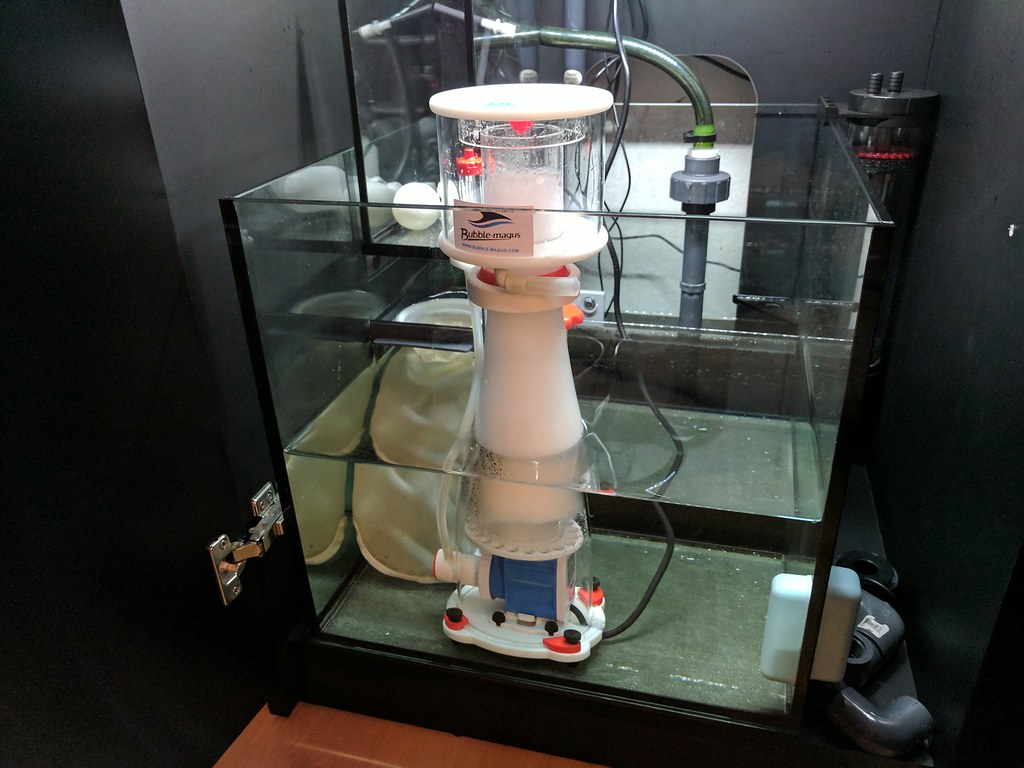
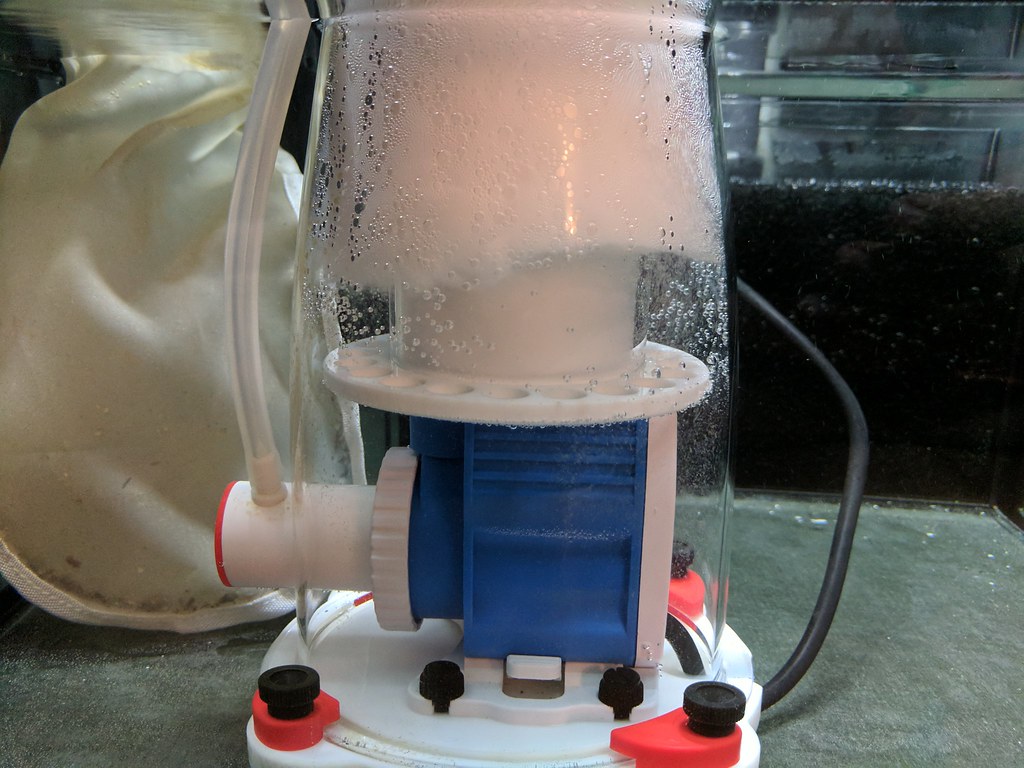
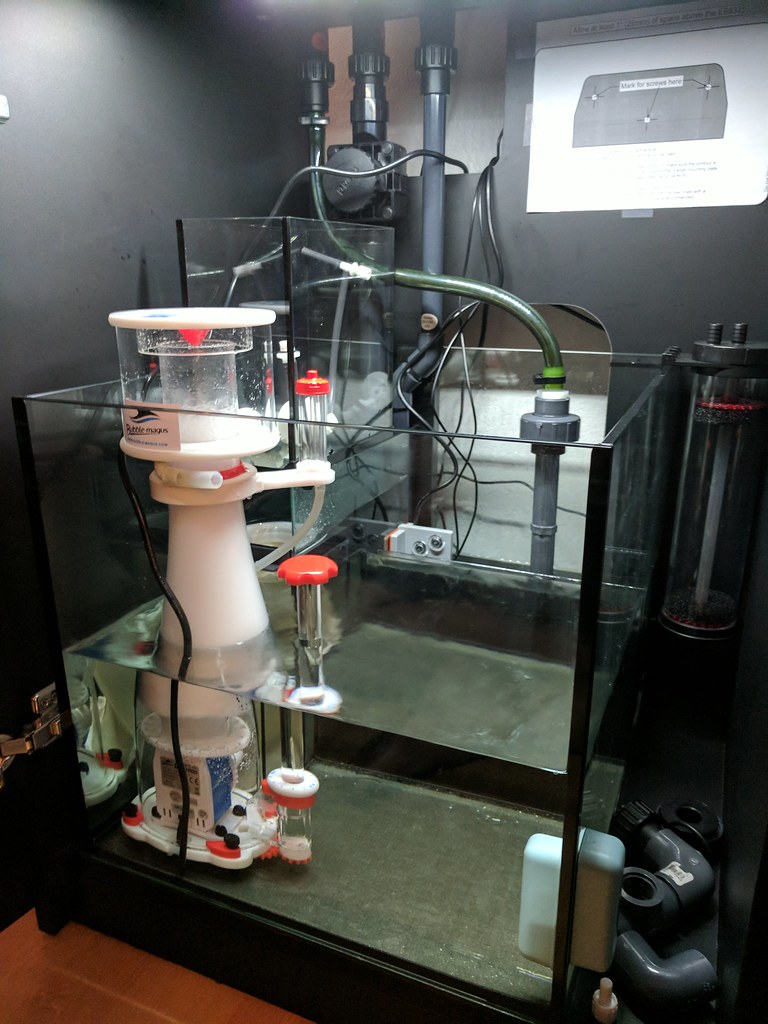
Nice and compact compared to my old EuroReef and good bubble production out of the DC pump.

36872156443_10e3959c25_b.jpg


23689374788_af071cf9fe_b.jpg


23689378498_8a96bbdb8b_b.jpg


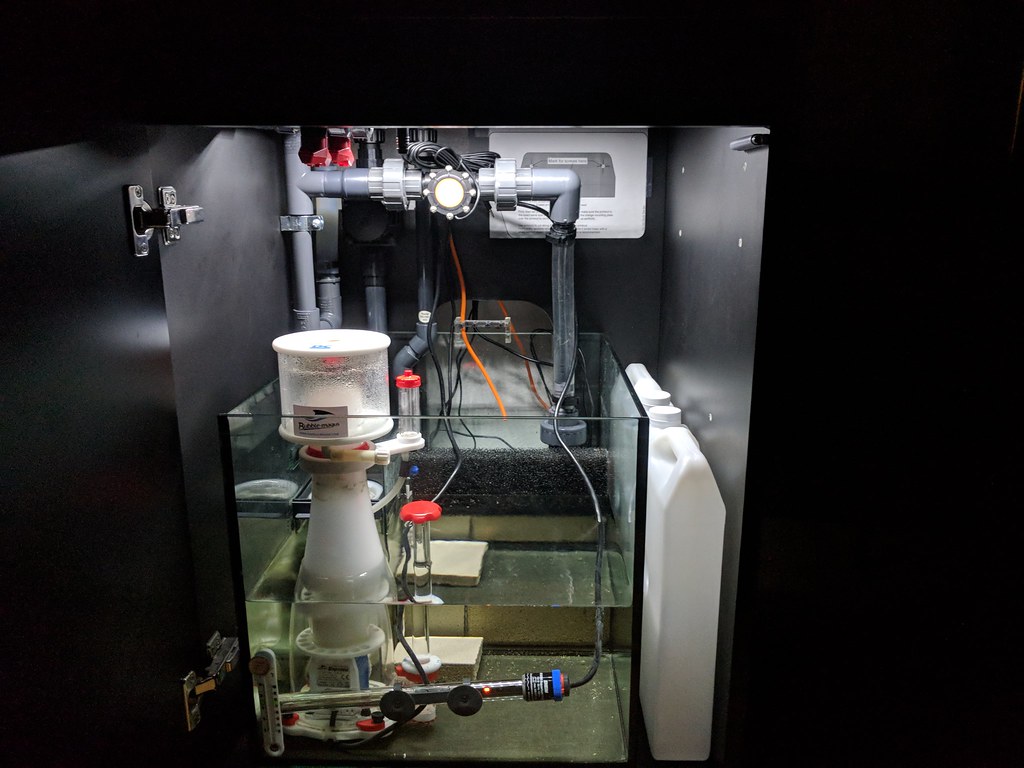
It's even compact enough to slide in the front left corner of my sump leaving a lot more room for other things.

37493603906_9b43d065a3_b.jpg


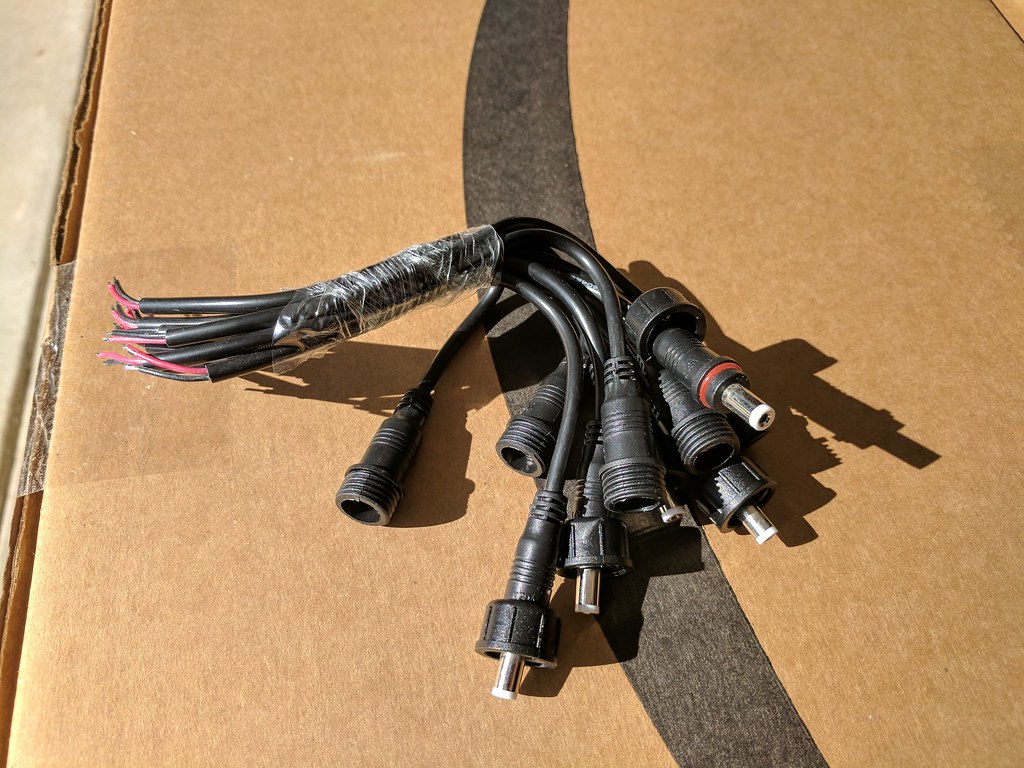
Since this is a 24v DC pump and only draws 13w, the plan is to make a cable to power it directly from a DC24 port on my EB832 using these parts.

743-08.jpg


210184_nepune_systems_10ft_dc24barewirecable-c.jpg
 
Post from Oct 8, 2017:

The good news: the waterproof DC Jack's showed up today. Nice and flexible and fit well together.

37323415100_411b8f9464_b.jpg


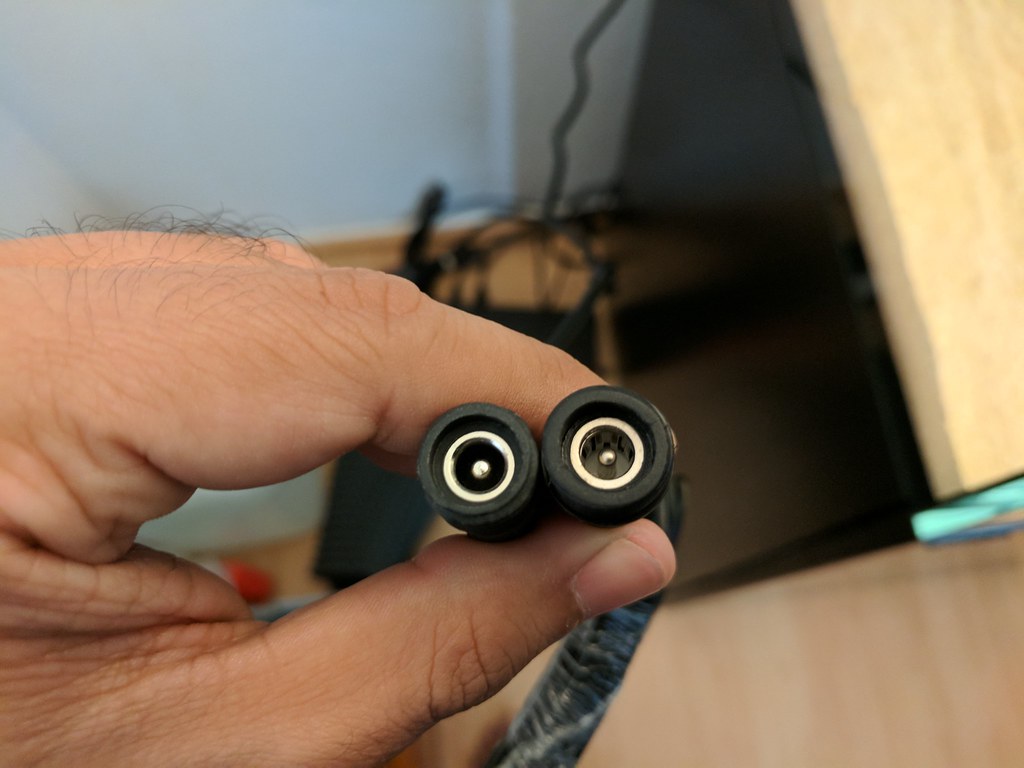
The bad news: the center pin is too small.

Pump connection on the left, new pigtail on the right.

36912025603_afc081775a_b.jpg


Now I need to decide weather to cut the power supply side or the skimmer pump side. I'm leaning towards the PSU side. Thoughts?

Edit: I broke out my digital calipers (yes I should have done that in the first place) and measured the existing plug. The outside diameter is 5.5mm and the inside is 2.5mm. The DC plugs I bought are 5.5 x 2.1mm. :( I validated this with a couple of non-waterproof DC power adapters I had in my junk box. Now I know exactly what I need to order.
If anyone needs waterproof DC plugs for anything, hit me up.
 
Post from Oct 8, 2017:

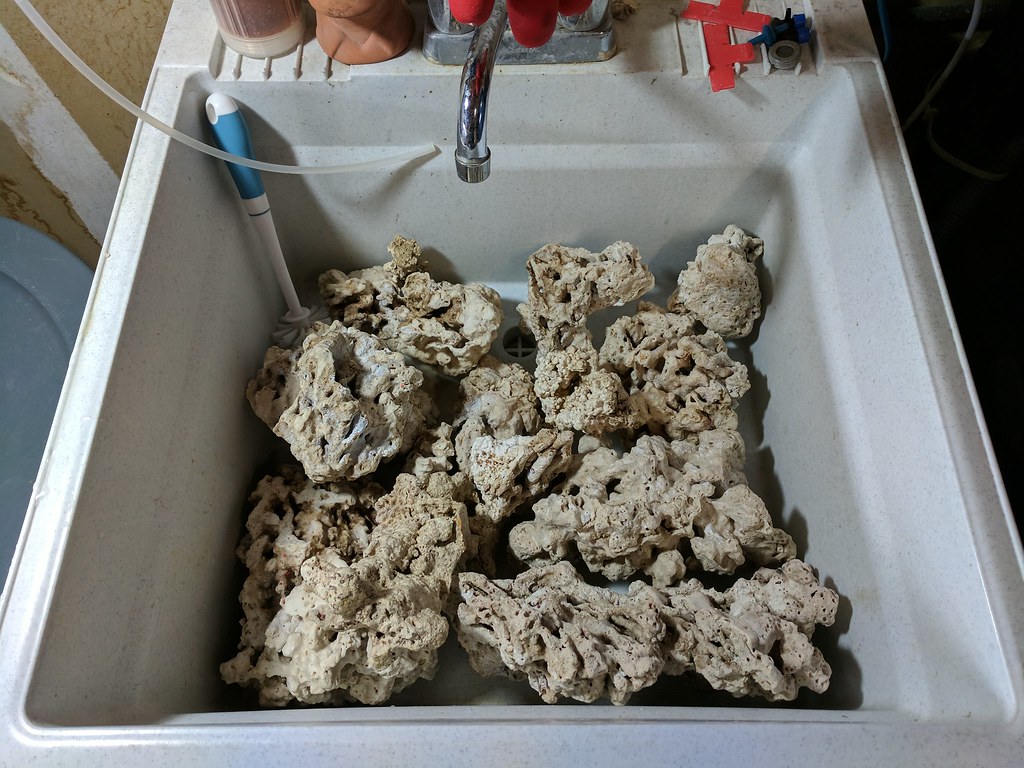
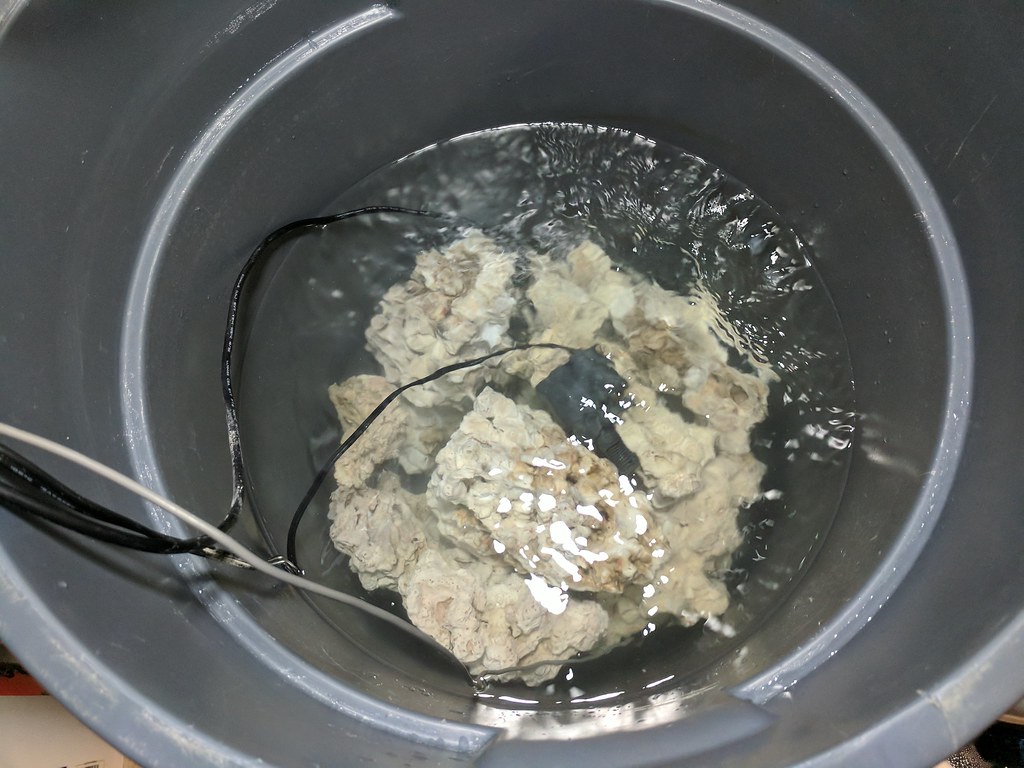
After a weekend in the sun, we start cooking in saltwater and yet another large dose of Prime. Planning to let it stew until next weekend, maybe a 100% water change somewhere in the middle.

36916164253_468cd7019e_b.jpg


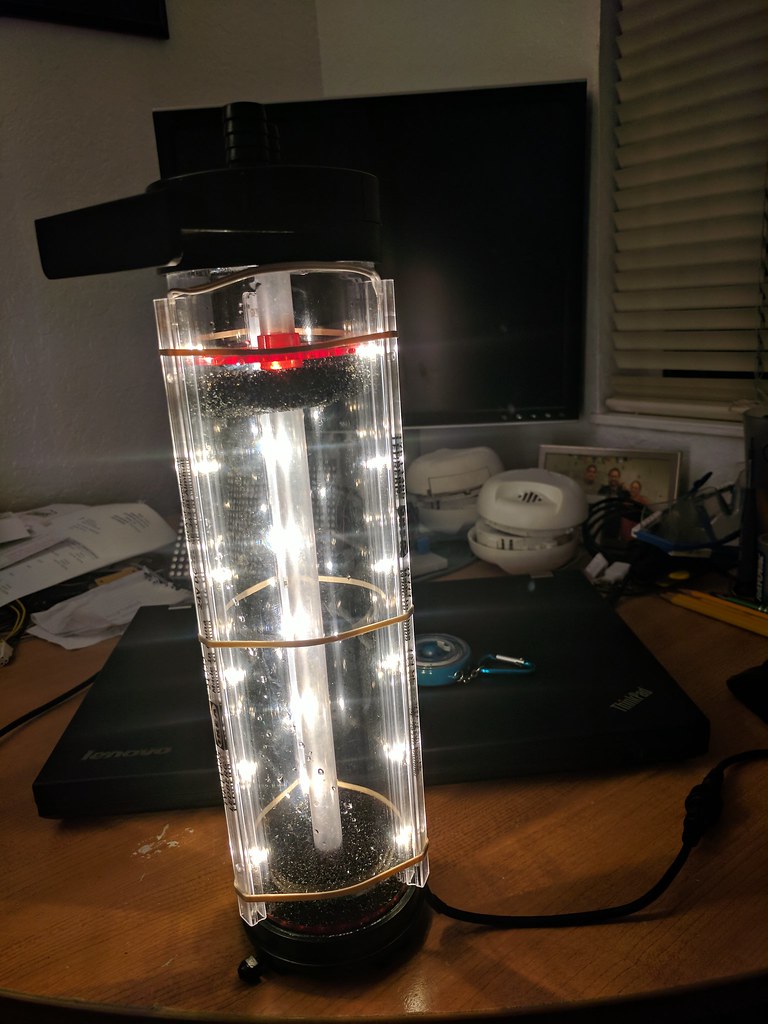
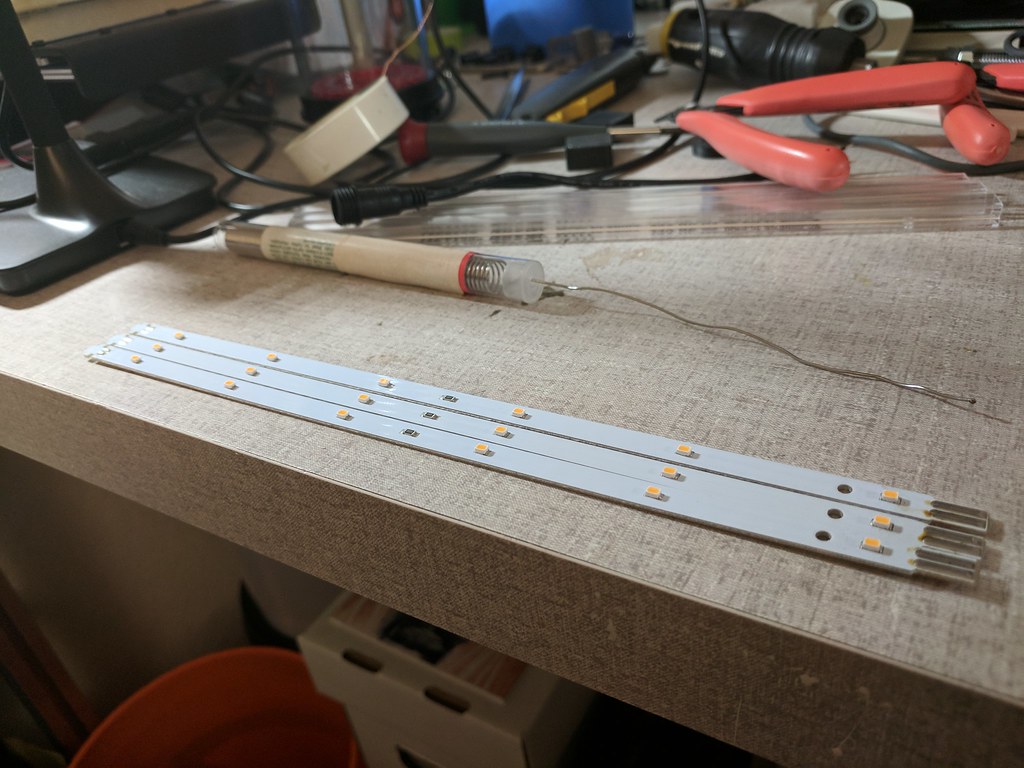
Not to be deterred by my little DC jack mishap, I decided to make some lemonade. I pulled apart the old Ikea LED strips I used to light the cabinet and cleaned up the solder points.

37537434236_84953f8daf_b.jpg


Lets get some use out of those DC jacks.

37327727830_fc3a0a7ca4_b.jpg


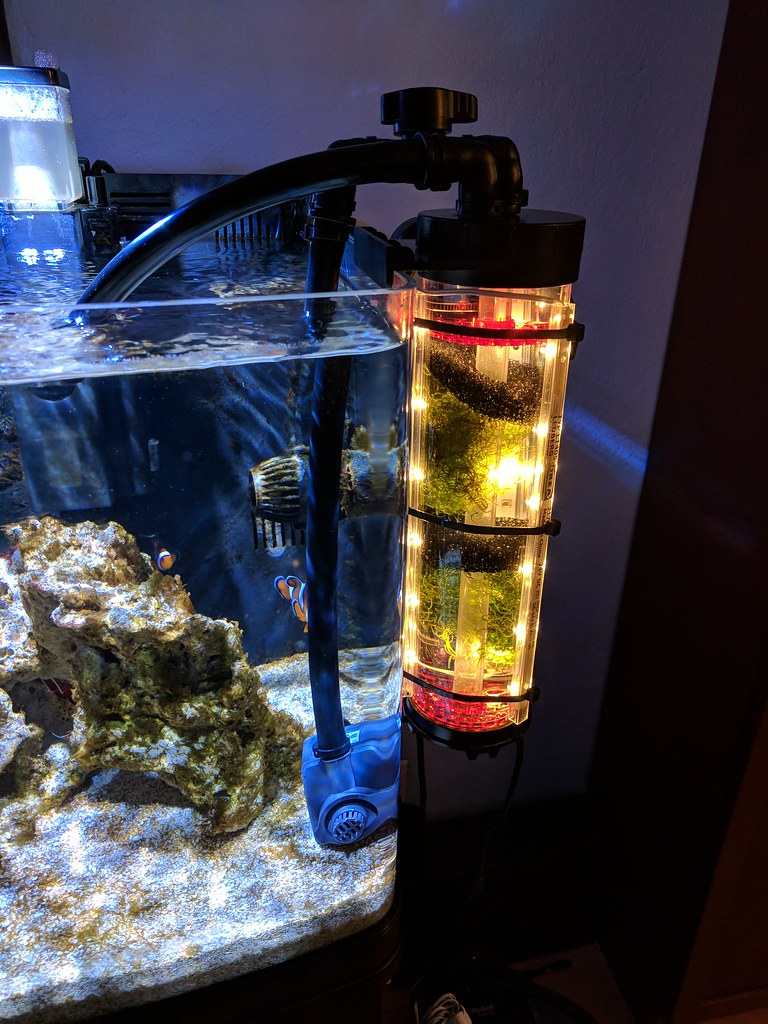
Just add an old TLF-150 reactor and... tada! My first chaeto reactor.

37537437366_42a10f4510_b.jpg


I still need to find a better mounting solution than rubber bands, reseal the ends of the light segments, and find a way to limit light bleed.
 
Post from Oct 14, 2017:

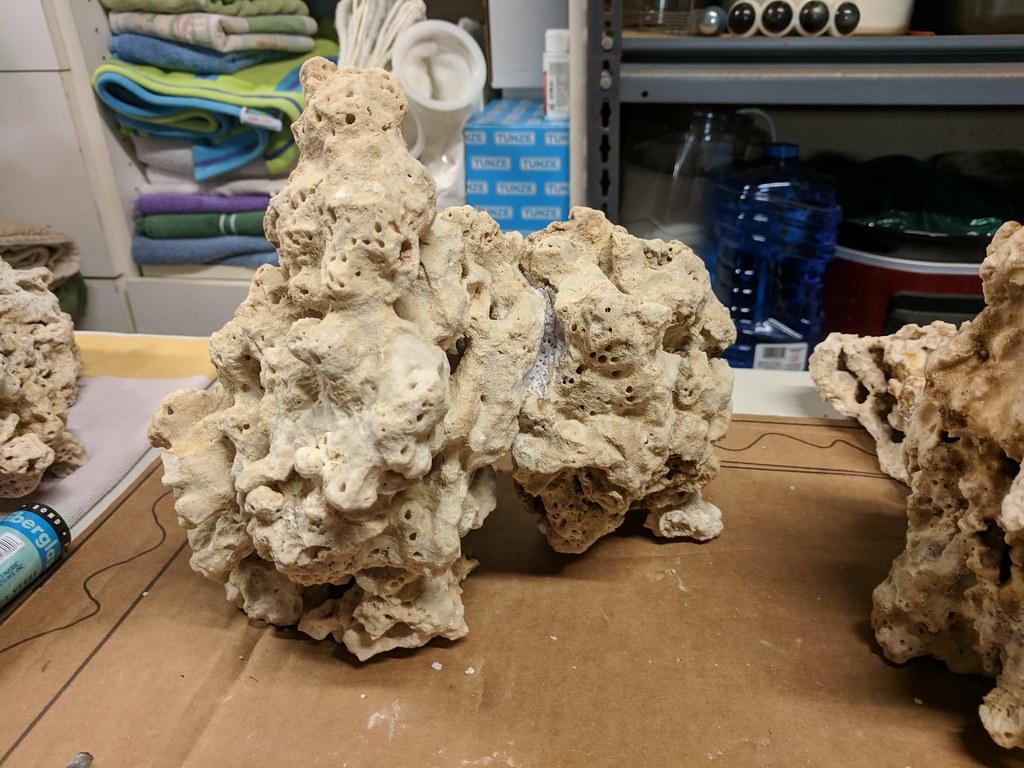
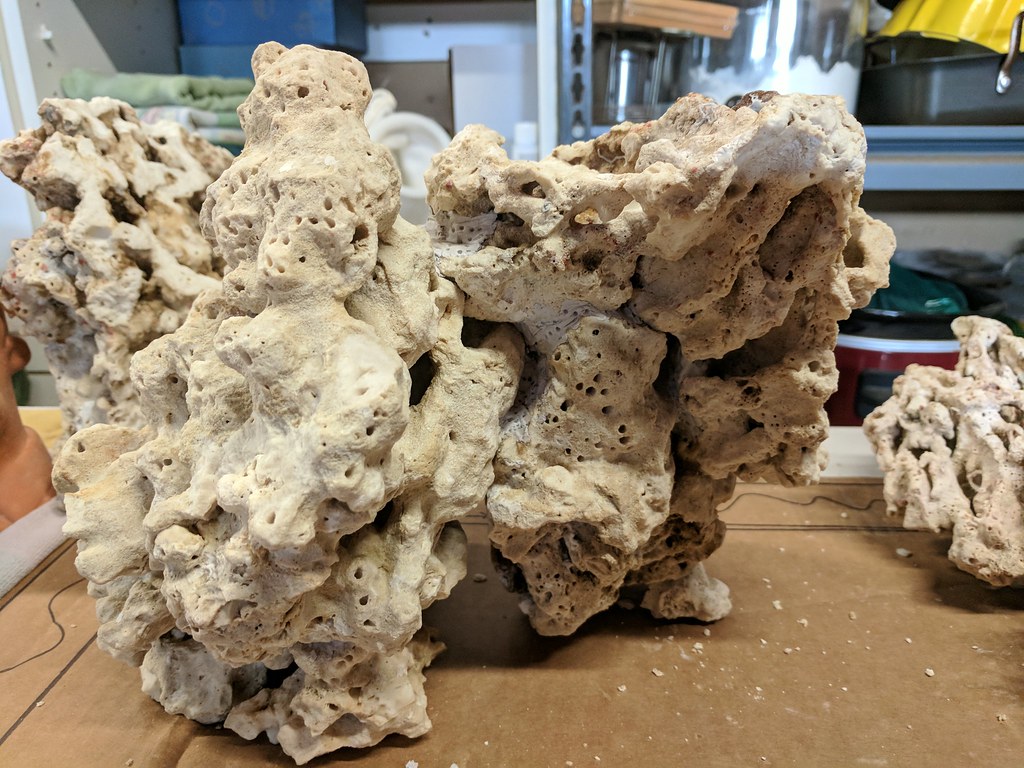
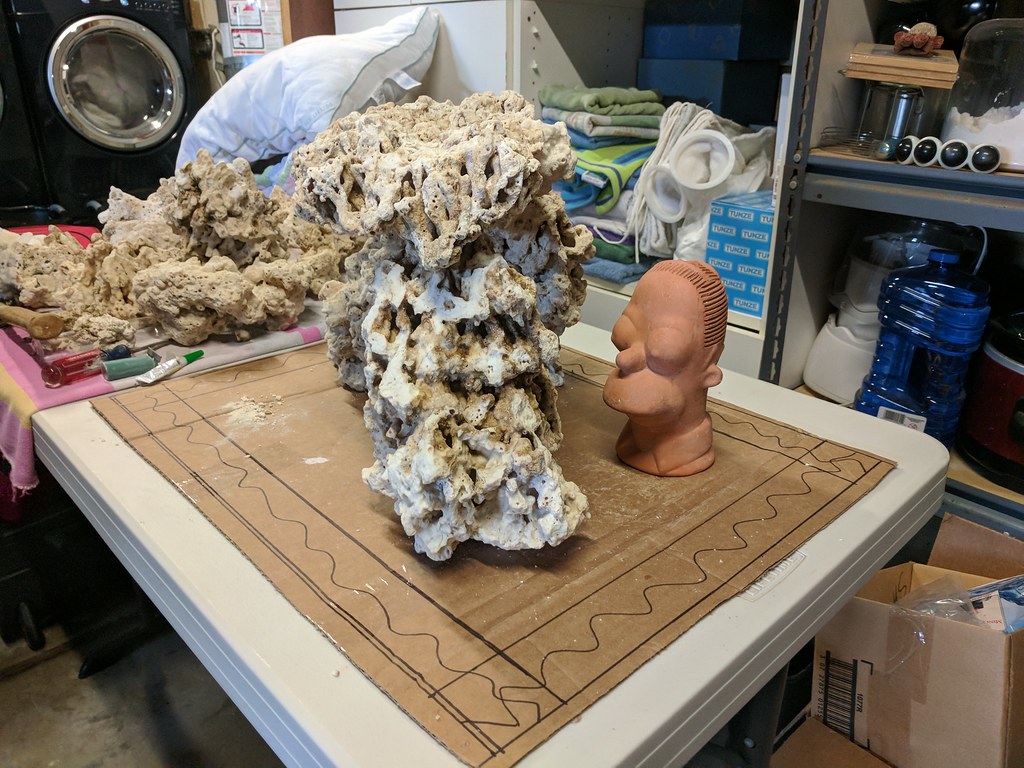
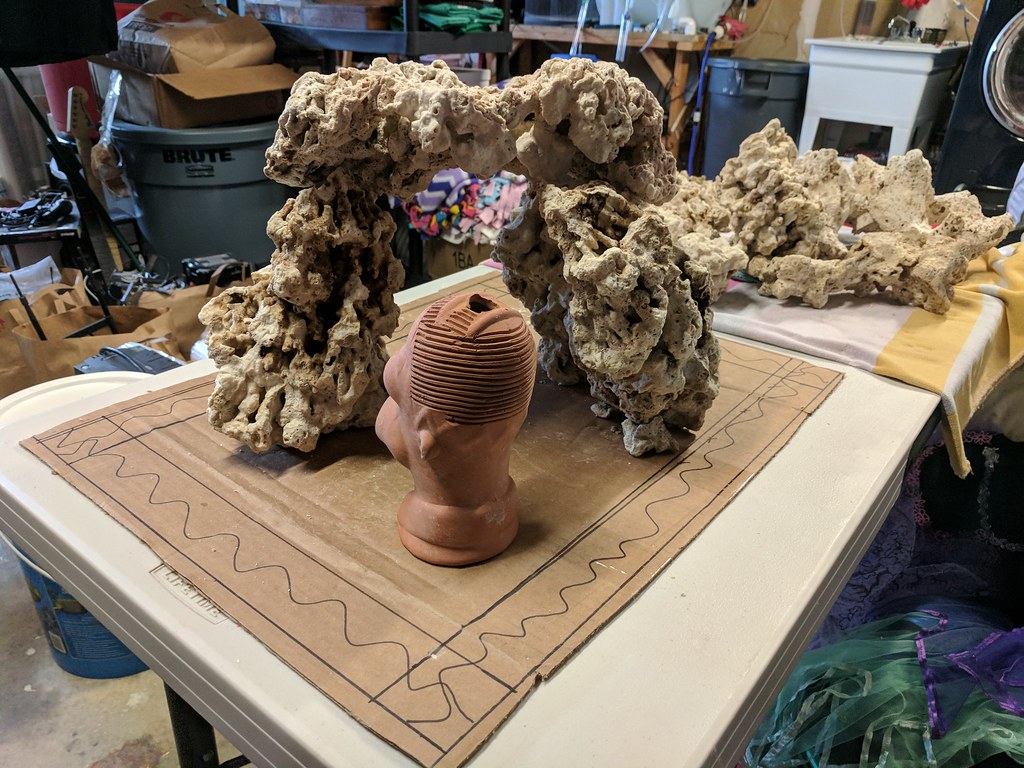
I think my rock is now ready for aquascaping. Several water changes with high dose prime and not a hint of bleach smell left. This morning, I've pulled the rock out to let it drain and dry a bit so I can start fitting things together.

37644672136_7cee1353db_b.jpg


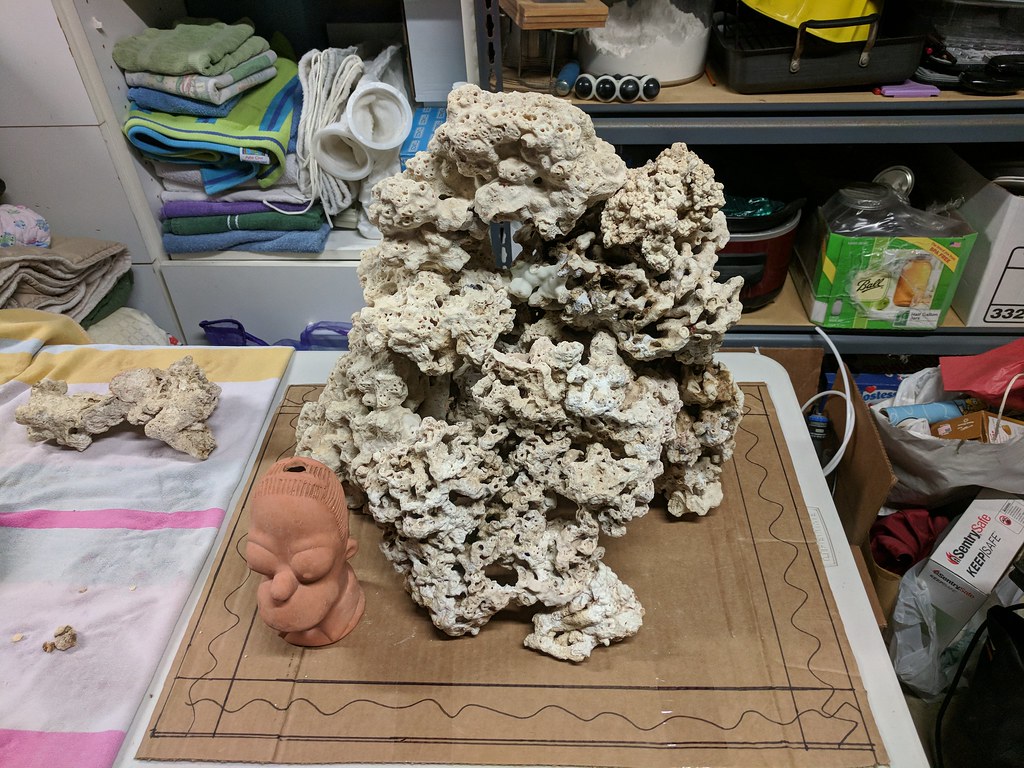
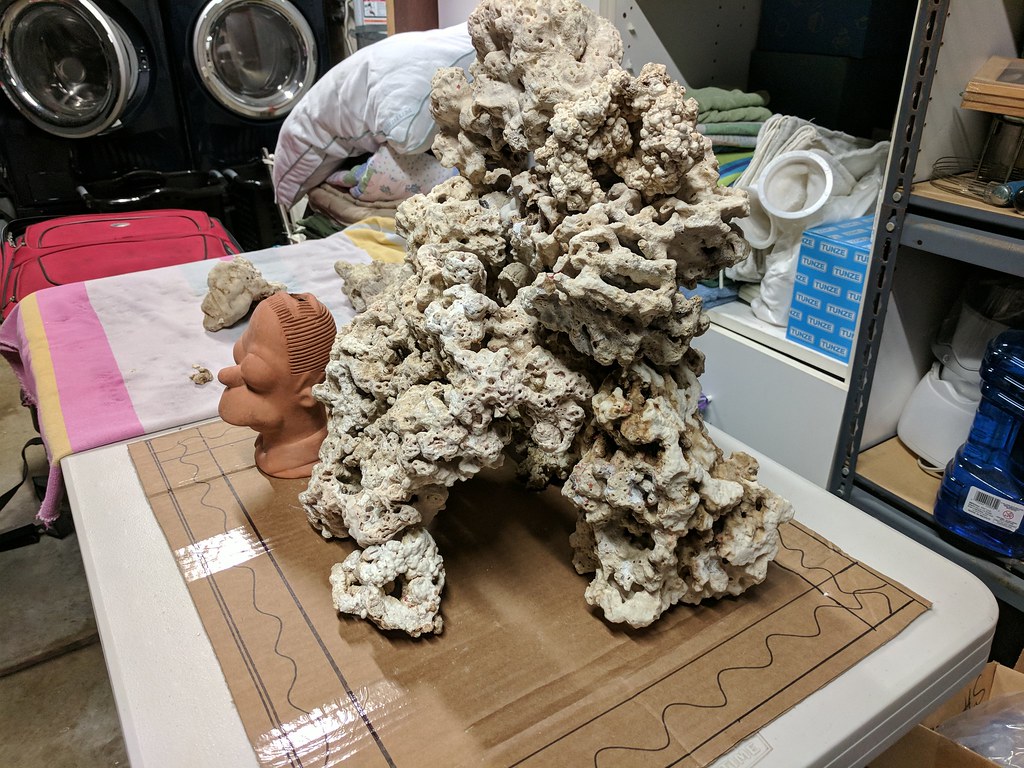
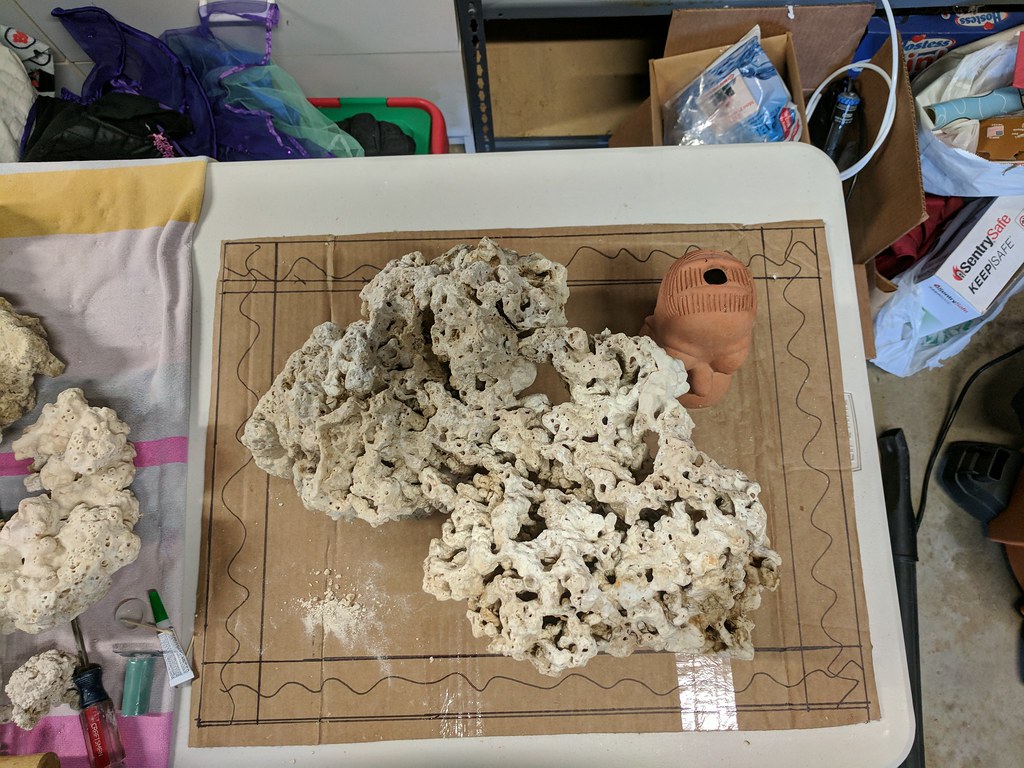
I spent a little time laying out my cardboard template this build. Previously I would just stack rocks in the tank. This will be my first attempt to putty/glue an actual formation.

37644795546_28265821a6_b.jpg
 
Post from Oct 14, 2017:

Getting setup for aquascaping. Bought way too much dollar store super glue. Also picked up 2 sticks of putty from TB Aquatics going out of business sale.

37444679750_30f0869676_b.jpg


First try (actually the 5th, but the only one I like so far :) ). From the front.

37669899522_9e7f6ee17c_b.jpg


From the right. Lots of cave room for skittish fish to swim in and out. This will be my most common vantage point from where I normally sit in the room.

37031561833_0d3736b5ed_b.jpg


A shot from the back.

37669904782_79d7cb3fef_b.jpg


Does anyone have advice on glue/putty technique? I assume if I make this 1 big piece it's will be hard to work with in the future.
 
So far so good! I’m liking this thread already!
 
Post from Oct 15, 2017:

Woke up bright an early this morning to get a start on my scape. I figured I'd just stick with the epoxy putty for now. If it doesn't hold, I'll order some emarco and try again. The plan is to create 3 structures that will lean/stack lock into each other. This should keep stuff manageable if I need to shift things around later. This also means I need to rethink my "hollow mountain" stack that was pictured previously.

I started with the back left combining 2 similarly sized rocks that fit well next to each other. To add stability to the structure, I added rubble to select corners to eliminate tilting. I saw a youtube video where someone poked small divots into the epoxy to give it a more natural look and blend into the rocks.

37682693642_fffa379848_b.jpg


I then added a "L" shaped piece on top that gives this structure more even height along the top while creating a slight overhang toward the front. This piece required a little more effort to get everything stable. In addition to the epoxy, I super glued small bits of rubble along the back edge to keep things fixed while the epoxy cures.

37044325703_c1d6550bd9_b.jpg


So far I've used ~3/4 of 1 epoxy roll and 1 tube of super glue and everything is holding together nicely. I'll continue to post pictures as things evolve.

Software idea for any engineers out there. I'd like to 3d scan my rocks (lazy Susan and an old xbox kinect should do) and plan my aquascape on my computer. Using virtual cuts, chisels, rods, and other common tools and techniques. Bonus points for automatically recognizing mating surfaces and suggesting structures. :D Ok, I'll shut up now.
 
Post from Oct 15, 2017:

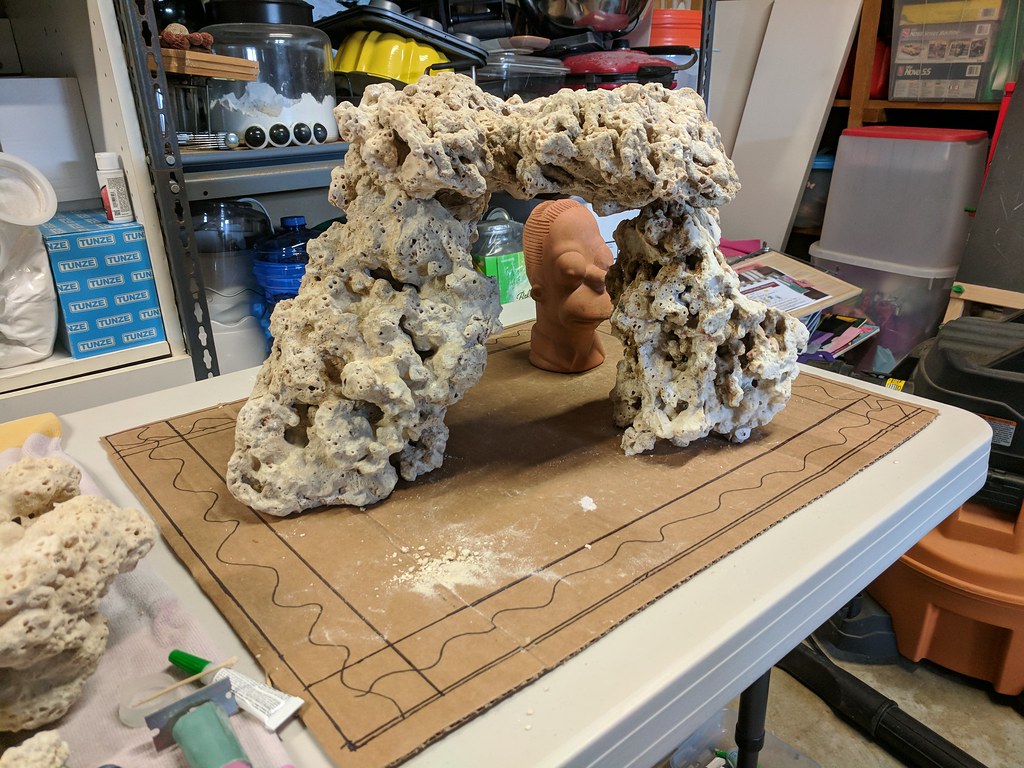
How about a flattop arch? It's tilted on the diagonal so it will fit, but I think it adds some dimension. The back of the top shelf piece locks in nicely to the epoxied tower I made. The front rests in a "V" shaped groove I chiseled out of the front tower. The front tower only has a few bits of rubble super glued to reduce rocking.

Front view:

23863990208_b778aabd98_b.jpg


Top down:

23863992648_51c6a281c6_b.jpg


Front left:

23863994948_4c435008a4_b.jpg


Front right:

23863997758_5ba8b12039_b.jpg


Rear right:

23864001078_aeca2f7e27_b.jpg


I like the openness, but I feel like I need to provide more places for things to hide. I think I'm going to drill out the back of Homer's Chia head (soon to be adorned with GSP). That would make a nice hiding place. Still open to ideas and critique.
 
Post from Oct 15, 2017:

Started up my "chaeto reactor". It's running on my biocube since there are actual nutrients to absorb.

37464065940_4aef4ed2f4_b.jpg
 
Post from Oct 15, 2017:

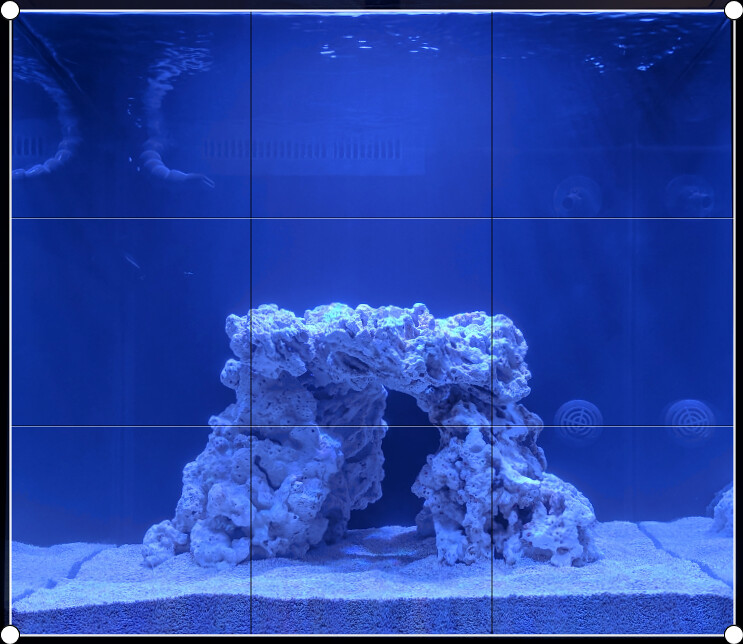
Tossed it in the tank to see how everything fit/looked with sand, water, and light. Used the default Windows 10 photo editor to mock up a 3rds grid. I think things line up nicely.

37692681552_4d3d33668b_b.jpg


At this angle, you can slightly see the island rock in the right rear of the tank.

37692682752_dc115437bb_b.jpg
 
Post from Dec 2, 2017:

Wow, over a month since my last update. Well I still have an un-cycled (officially) tank of water, sand and rock. I've fiddled with the rock scape a bit, but nothing major. Like most of us, I bought a few things on black Friday and cyber Monday.

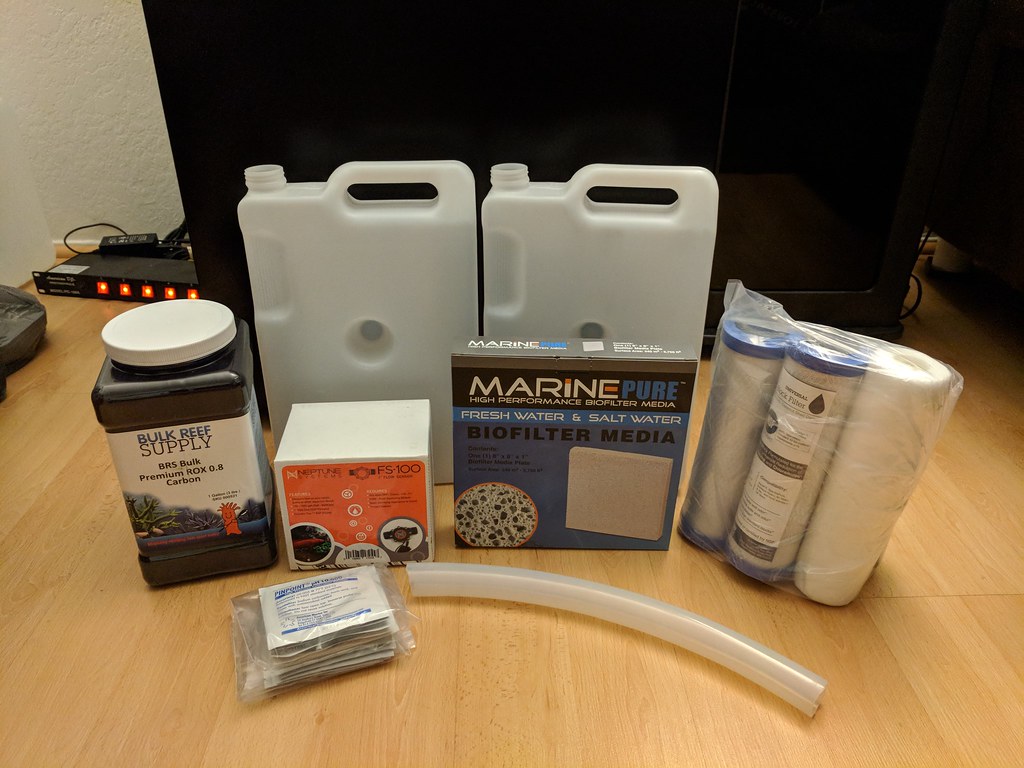
The first shipment arrived yesterday. BRS ROX carbon, 2 space saver containers, Apex FS-100 flow sensor, 1" Marine Pure plate, pH calibration fluid, 1" silicon tubing to attach my manifold to my pump, and the annual RO/DI filter pack.

27010598039_07eff6e5d7_b.jpg


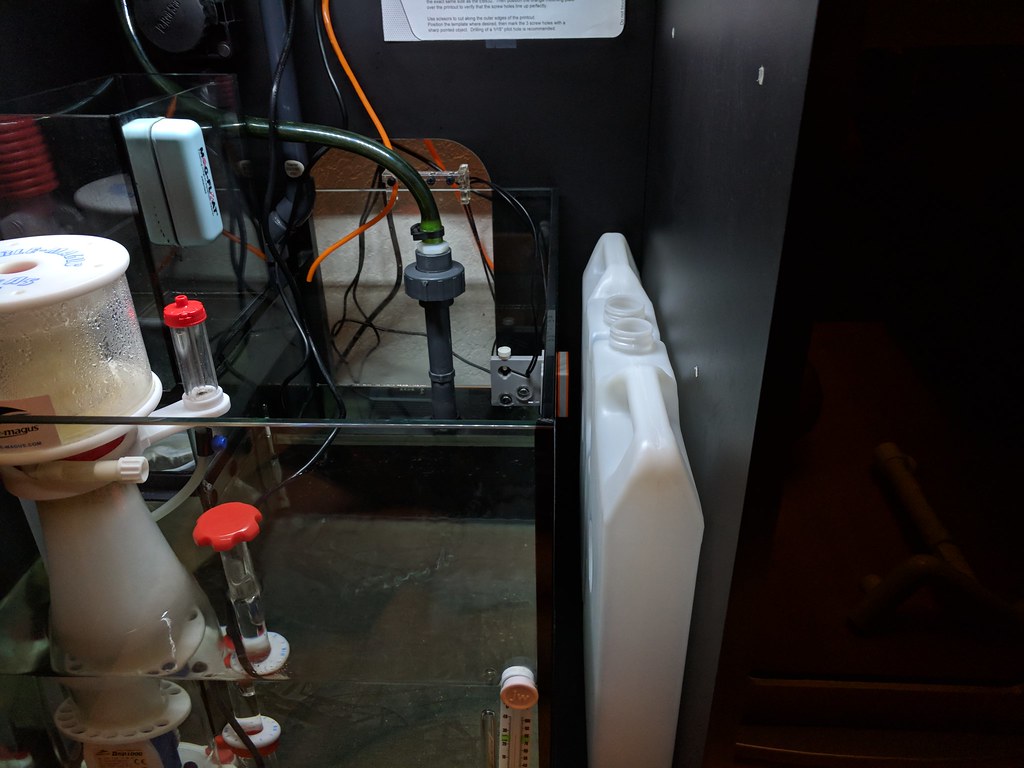
The space saver jugs are a perfect fit for the limited amount of space I have left next to my sump.

27010593949_355f542244_b.jpg


24912895998_ecae602a14_b.jpg


And by dumb luck, I can add a 3rd container next to my 5gal top off in the cabinet next to the tank.

24912897658_72f31ce728_b.jpg


On Monday, the rest of my plumbing should arrive. Once I have my manifold built and installed, I'll finally start my fishless cycle.
 
Post from Oct 2, 2017:

rygh said:
I made the exact same mistake on my lights. Thought they would be standard 2.1mm - nope.
Did you ever find a good 5.5 x 2.5 mm - high current, say 16 AWG replacement?

No, I still have not found a proper connector. I think I'm going to use a standard dry connector, the length of the power cord is long enough for me to keep the connector away from water.
 
Post from Dec 3, 2017:

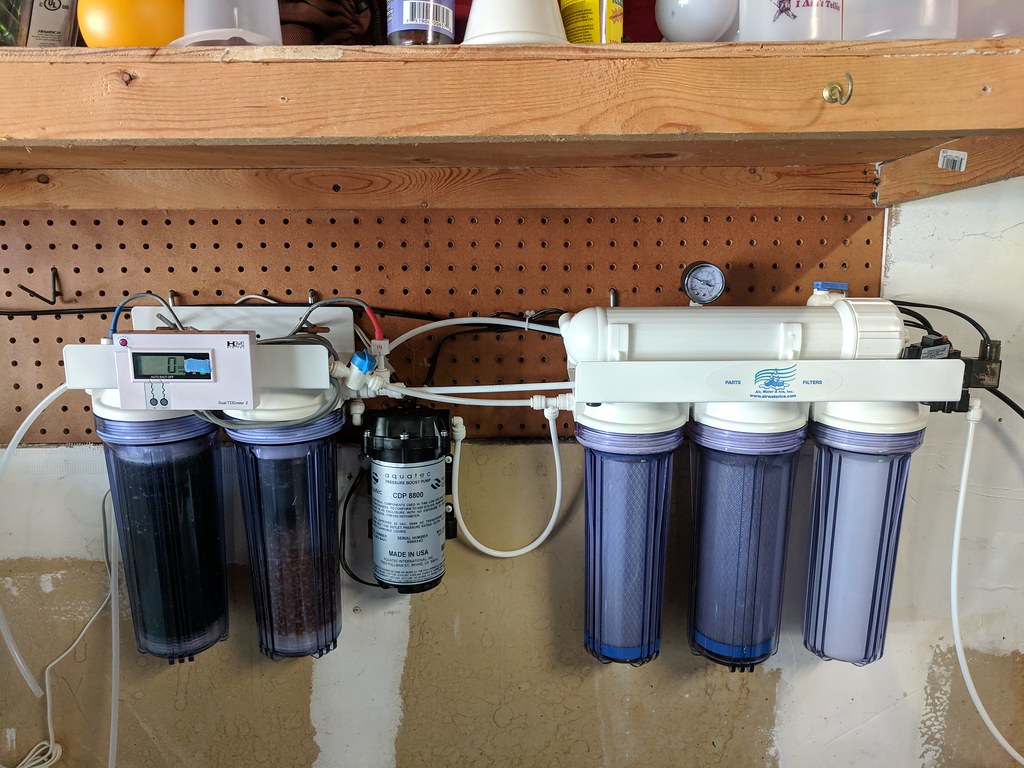
Just a little addition to my RO/DI setup. My awesome wife bought me a booster pump for my birthday. I also took the opportunity to change out my filters. Next on the list, dual membrane in a "water saver" config.

38106027644_610dfc9e98_b.jpg


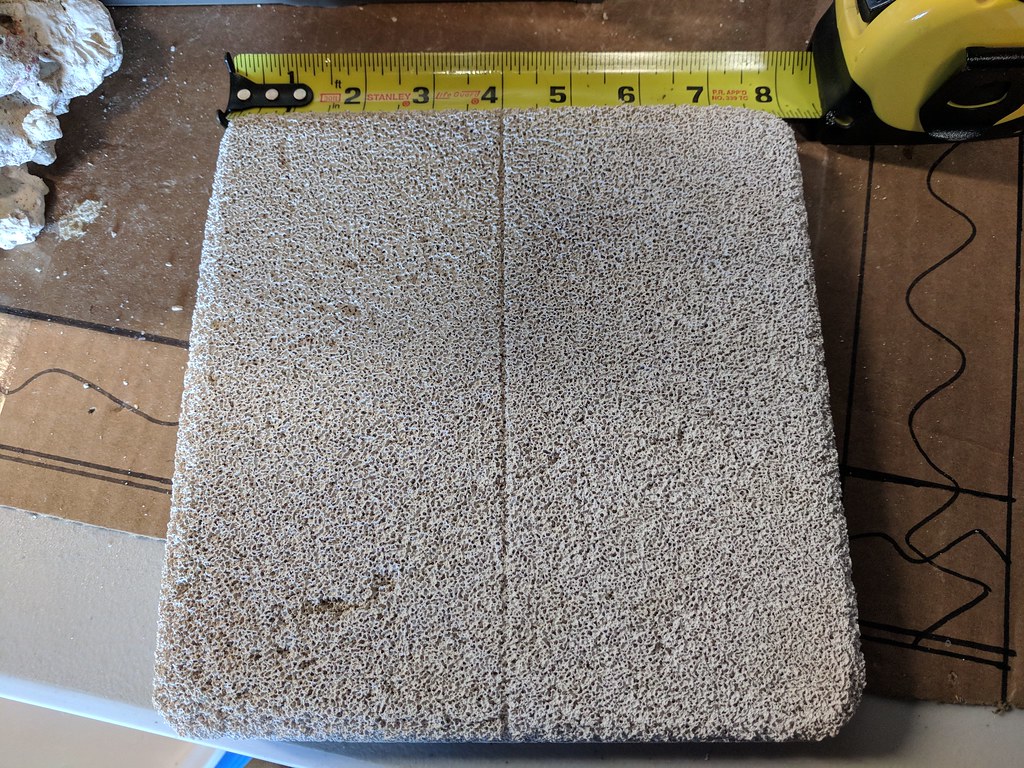
I also cut my Marine Pure block down to size to fit into my bubble trap. As most have already said, this stuff is fragile. I used a hacksaw, dragging the blade over the block with only the weight of the saw to cut it to size. Cut's like butter.

38106021084_c0caac6248_b.jpg


It's not a perfect fit, but I like the way it turned out.

38106024664_e9c4f51b8f_b.jpg


38821923361_5215689824_b.jpg


I decided to keep the coarse mesh filter installed over the marine pure block to catch any detritus that may cause clogs in the future.

38821926871_7a69ff3035_b.jpg
 
Post from Dec 5, 2017:

Got the rest of my black Friday haul.

23999683287_9e266e6d6f_b.jpg
 
Post from Dec 9, 2017:

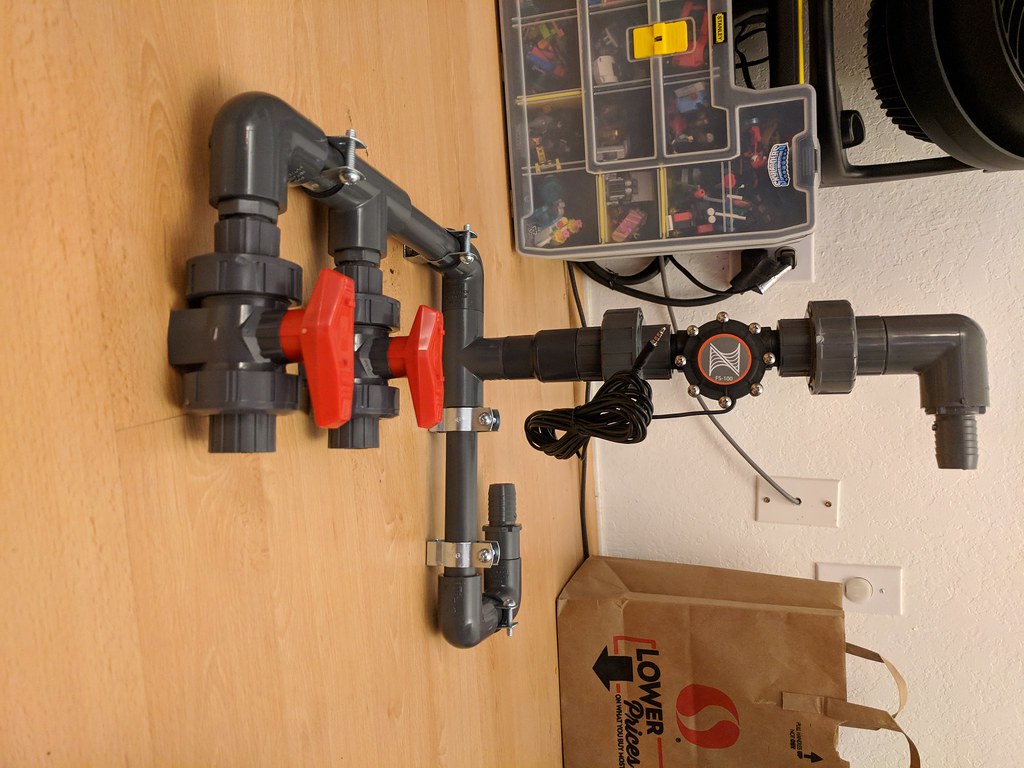
First draft at dry fitting my manifold.

38065177865_a7784ed940_b.jpg


Given the size of my stand, I think this is the best I can do with the 1-in run for the Apex FS-100. I'm thinking I'll need some type of support for the barbed end. Maybe just a zip tie loop screwed to the top?

27174548039_d1c41b3ec4_b.jpg


I was planning on a 3 valve manifold, but 2 seems to fit better while allowing me to keep the stock ATO container in place (not sure what to do with it yet)

38065175145_a250f7cc06_b.jpg
 
Post from Dec 18, 2017:

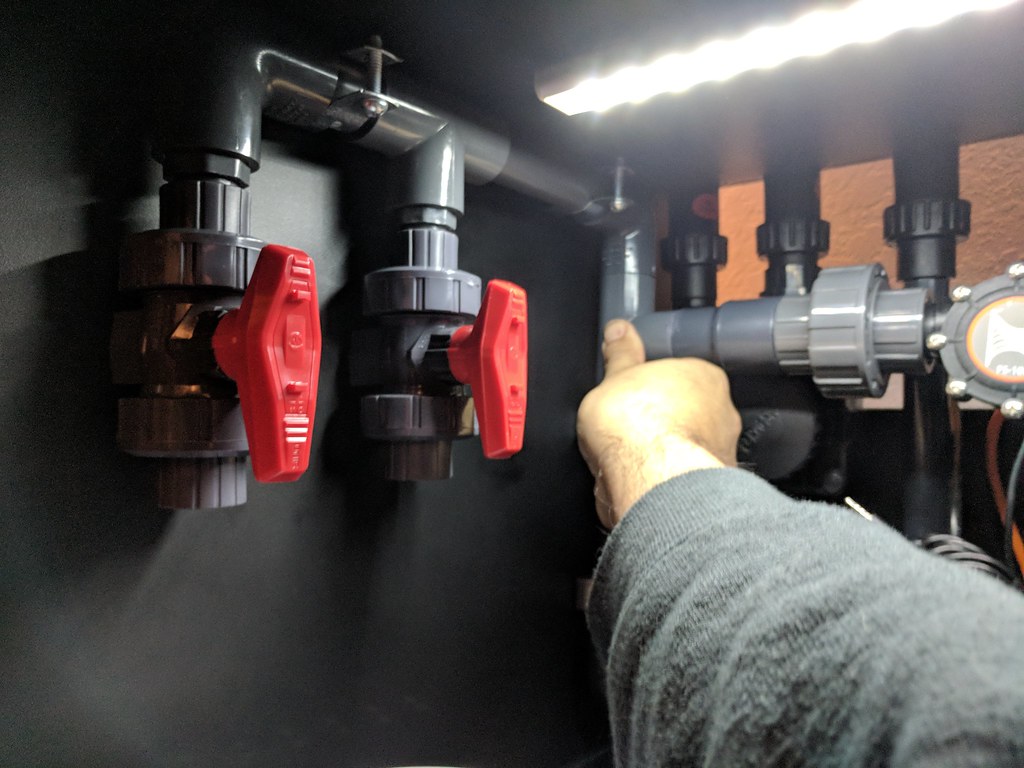
I finally got around to gluing and mounting my manifold.

24288953747_9f4eb9f105_b.jpg


When everything was said and done, I still have access to the primary drain diaphragm valve and the stock top off container still fits.

38440934194_48fef24761_b.jpg


A small section of silicon tube isolates the manifold from transferring any vibration to the cabinet wall.

27370930629_3764c8efe0_b.jpg


I opted to run my reactor valves along the top of the inside of the stand. This leaves extra room on the left wall to mount more junk in the future.

27370959639_2096cb9597_b.jpg
 
Post from Dec 19, 2017:

Vhuang168 said:
Nice and neat but why the big U at the reactor/return split?

Thanks. Was thinking about adding either a check valve or gate valve in the section below the tee while I was dry fitting. While mounting, I found that the the extra length for the silicon hose made it easier to reach and remove the Red Sea fitting if I need to service the manifold in the future. In such a small system, I'm not too concerned with any head loss resulting from the extra elbows.
 

IF YOU HAD TO TAKE A REEFING EXAM, WOULD YOU PASS?

  • Yes!

    Votes: 32 45.7%
  • Not yet, but I have one that I want to buy in mind!

    Votes: 9 12.9%
  • No.

    Votes: 26 37.1%
  • Other (please explain).

    Votes: 3 4.3%
Back
Top