James404's 80g Rimless SPS Build

Ultra Aquatics

Well-Known Member
View Badges
Joined
Apr 13, 2012
Messages
796
Reaction score
853
Location
New York
Rating - 100%
1   0   0
Hello! Thanks for checking out my newest build thread! To start things off, I'd like to set a little background.

Background

About 5 years ago I broke down my 225g Reef Savvy tank and sold everything off. At that point in time my wife and I had just had our first child, and I really started to get burned out on the hobby. It felt more like a job than something I enjoyed. I had many ups and downs during those times, and it was extremely hard to sell everything off.

Fast forward to present day, within the past month or so I started to get the "itch" again to set up another tank. One night I woke up out of a deep sleep at about 3am, and my only thought was "I need to setup a reef tank again". Weird huh?

Of course to get started I had to get the "OK" from the boss (AKA my wife ;)) It took some convincing but she finally agreed!

So off we go!

Current Equipment List

Tank: 80G 48x24x16 Deep Blue Rimless
Light - ATI Sunpower 48” 8x54w
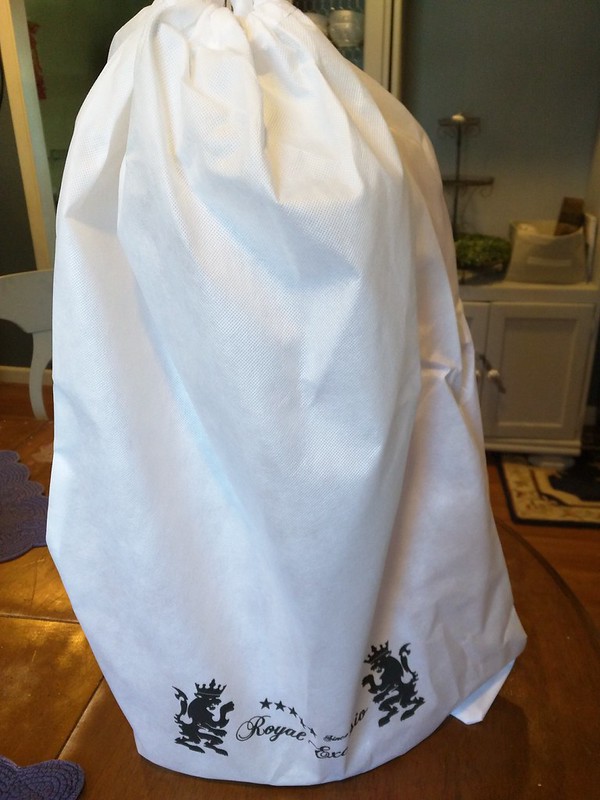
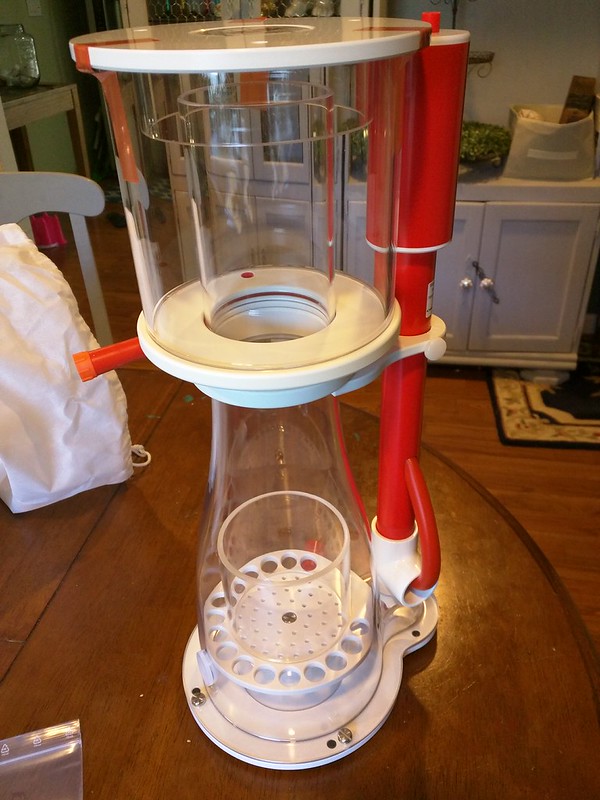
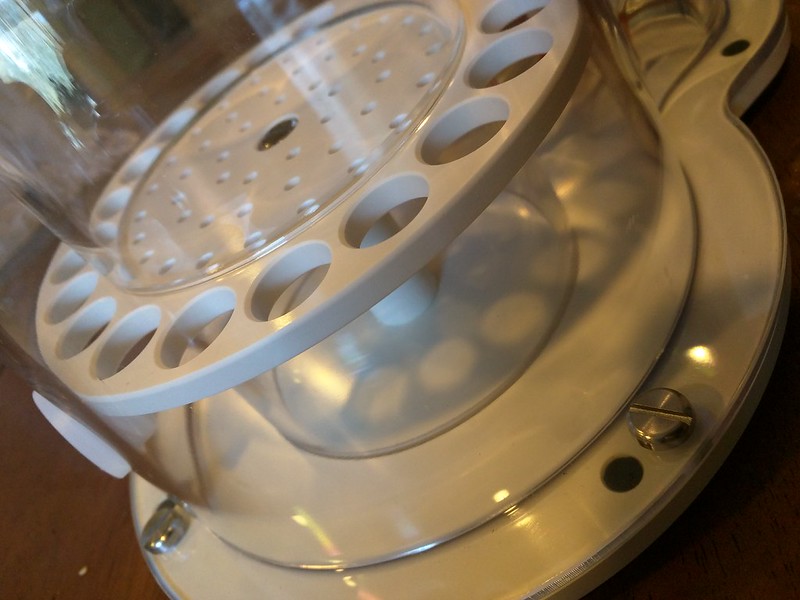
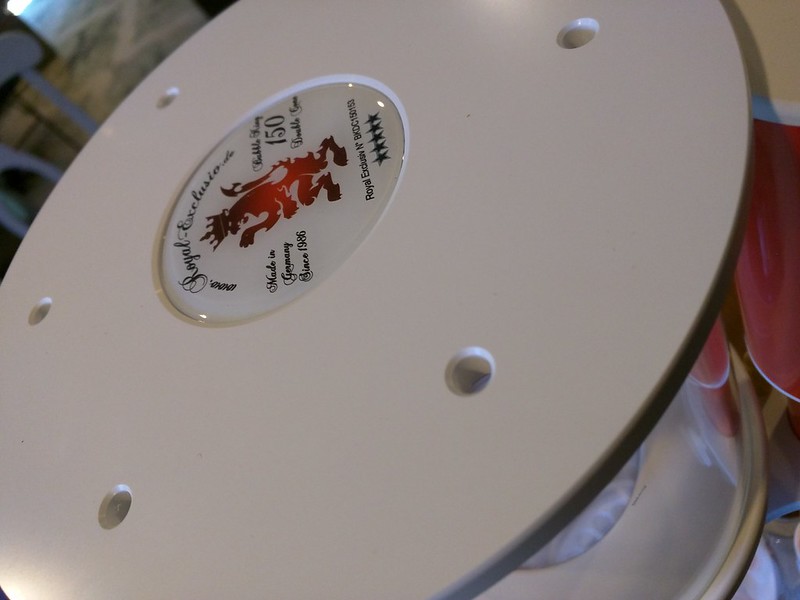
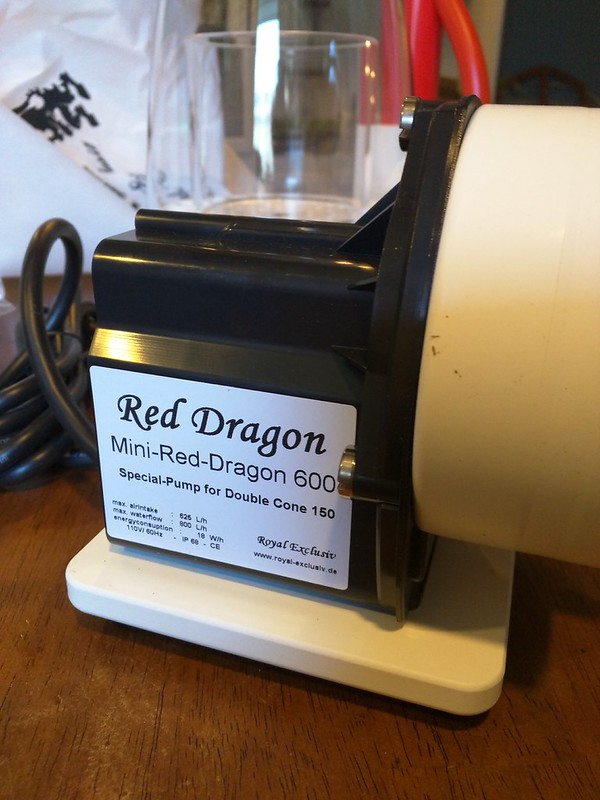
Skimmer - Bubble King Double Cone 150
RODI - BRS 4 Stage Plus
Rock - 60lbs Pukani
Sand - CarbiSea Special Grade Aragonite
Sump - Trigger Systems Tideline 48
Return - Reeflo YellowTail Gold
Controller - Apex 2016
ATO - Apex ATK
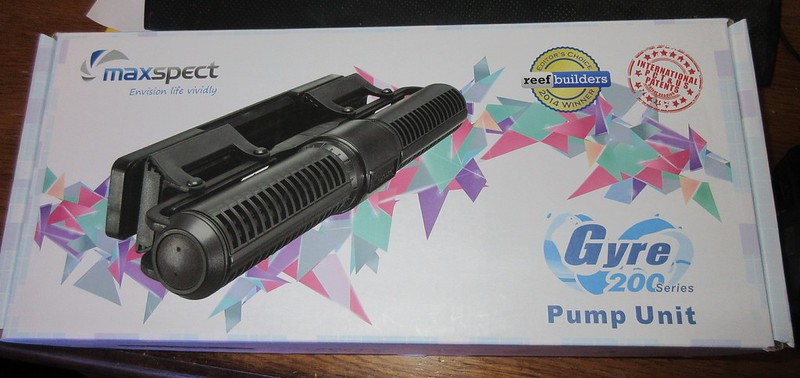
Flow - 2 x Maxspect XF230 Gyre
Refractometer - Milwaukee Digital
 
Last edited:

Planning and Setup

I knew off the bat, this tank was going to be SPS dominant. Acros were always my passion. I initially thought about a 40 breeder display, they have great dimensions, but then remembered about the Deep Blue tanks. I decided on the 80g Rimless, which is 48x24x16. An order was placed at my LFS.

Placement

I decided the best place for the tank would be in my home office.

Stand


For the stand, I would use Rocketengineer's template. I have used that design many times on my previous tanks, including my 225g and never had an issue.

Here is the basic stand framing. I used standard 2x4's, glued and screwed, for the frame. 1/2" sanded plywood for the top:
36805551340_59d197a390_c.jpg
 
Tank Arrival

The tank arrived within a few days. I forgot how heavy these tanks are! I had to bribe my wife to help me get it in the house :mixed:

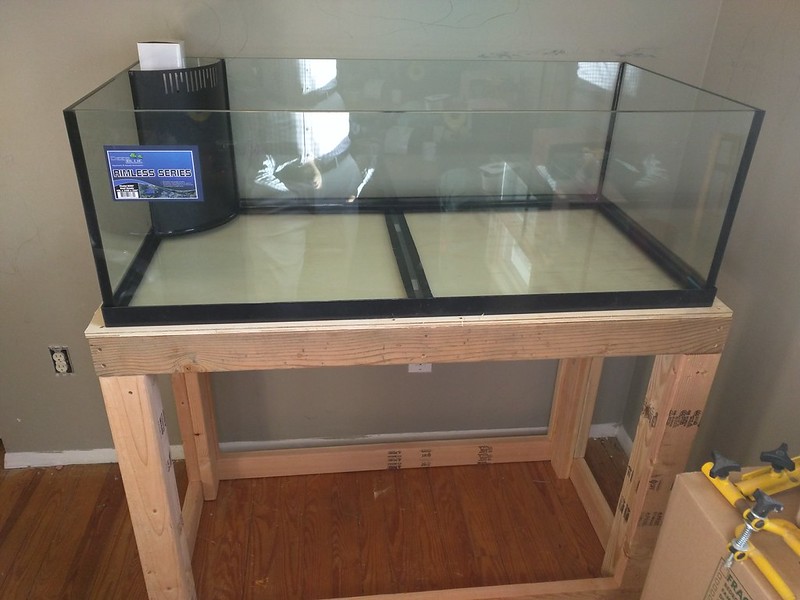
Here it sits on the stand. I built the stand an inch larger on each side since I knew I wanted to wrap 1x2s around the top to trim it out.

36389009313_ea02cfacdd_c.jpg


Stand Work

I started to trim out the stand. As said earlier, the top will be trimmed in 1x2's with mitered corners around the tank. Each side will be wrapped in 1/2" sanded plywood, with 2 cutouts in the front for cabinet doors.

Disregard the base moulding in this pic, it was just placed there temporarily for testing.
36805549680_7bd1fd8185_c.jpg


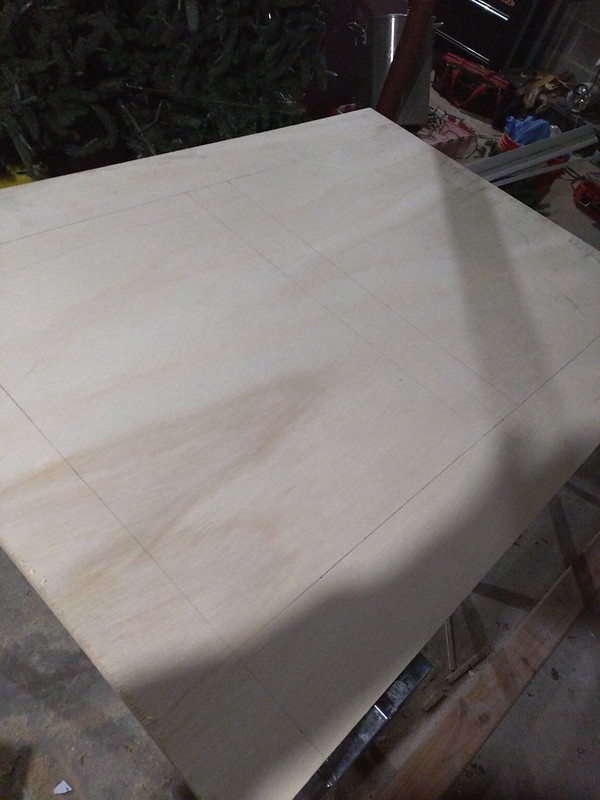
Initial layout to cut the front plywood sheet.

36805549630_a7cf29c9bb_c.jpg
 
Rock

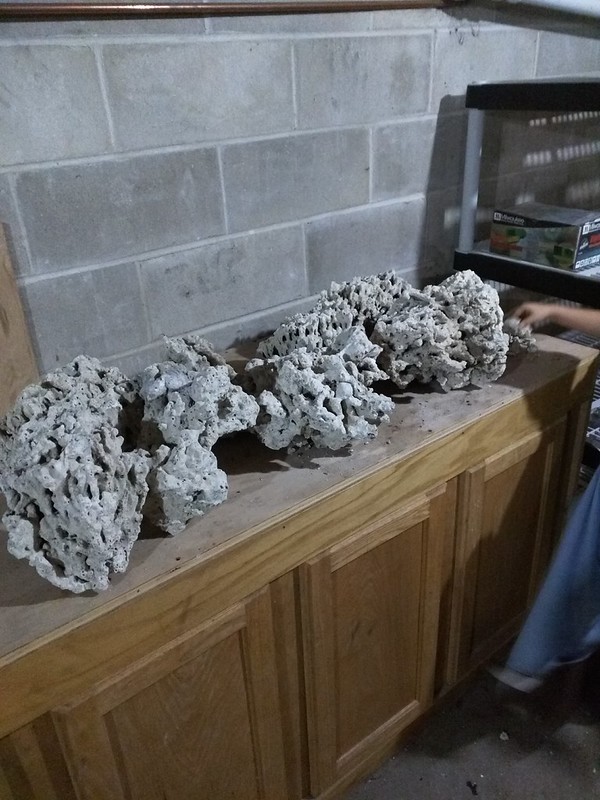
For all my tanks I have always used BRS Pukani. This tank will be no different. No other rock compares IMO.

I ordered 60lbs. This is just all of it layed out on what used to be the stand for my 225g. I will begin designing the aquascape soon.

36389008753_268ae18acb_c.jpg
 
I can't wait to see the aquascape. That's where I lack in ability.
 
Lighting

Lighting will be handled by the 48" ATI Sunpower 8x54w. Mounted directly to the ceiling via the included hanging kit. Installation was made simple using a plumb bob.

Stand

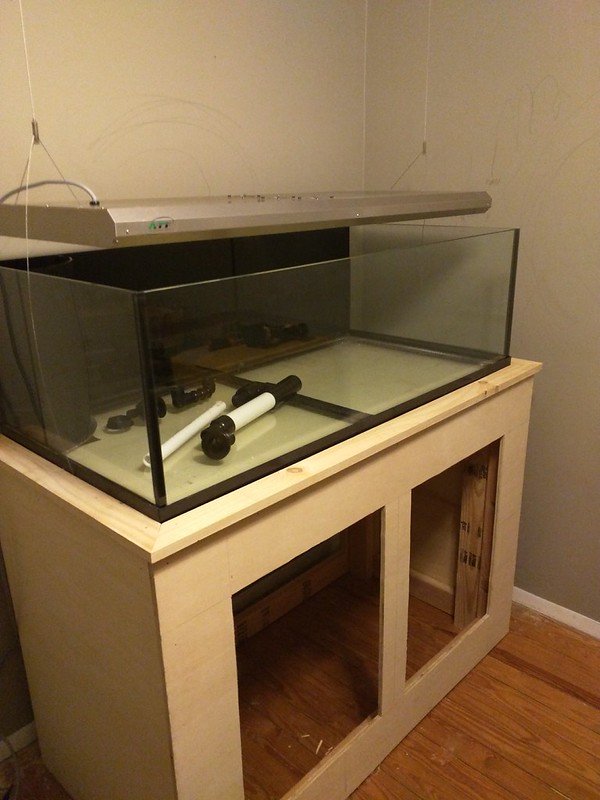
More work was done on the stand but still not complete. The front skin with door cutouts was attached and the top trim was completed. Cabinet doors have been ordered, but there is a 3 week lead time unfortunately. The cabinet doors will be shaker style, with frosted plexiglass.

37025372836_d0966c0e83_c.jpg
 
Testing and Monitoring

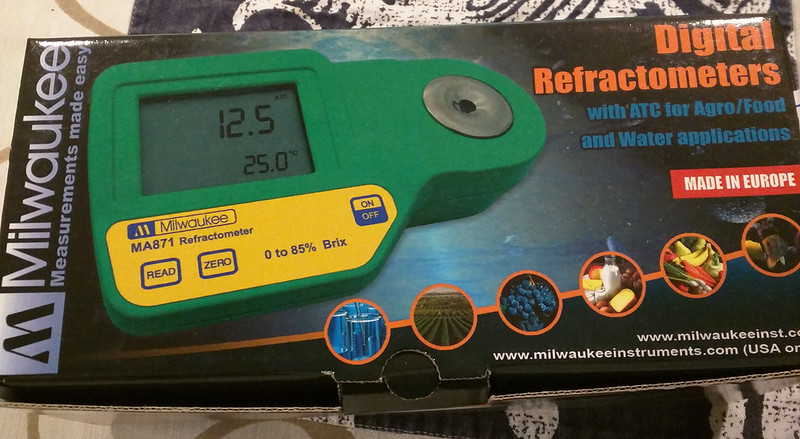
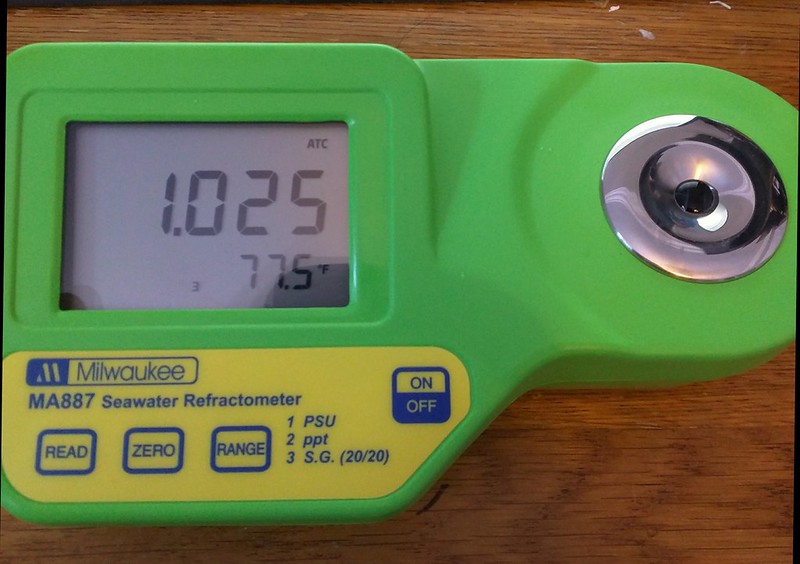
Manual Salinity measurement will be handled via the Milwaukee Digital Refractometer. In the past I have always used the standard refractometer type, but usually found them frustrating. I am hoping the Milwaukee unit gives more consistent results and ease of use.

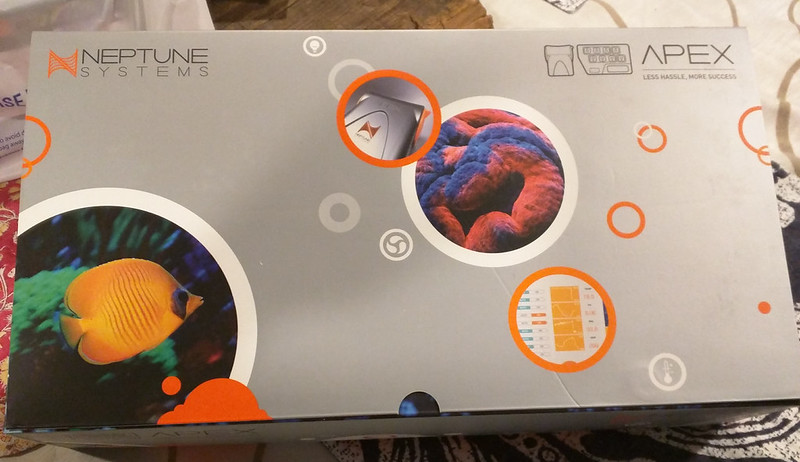
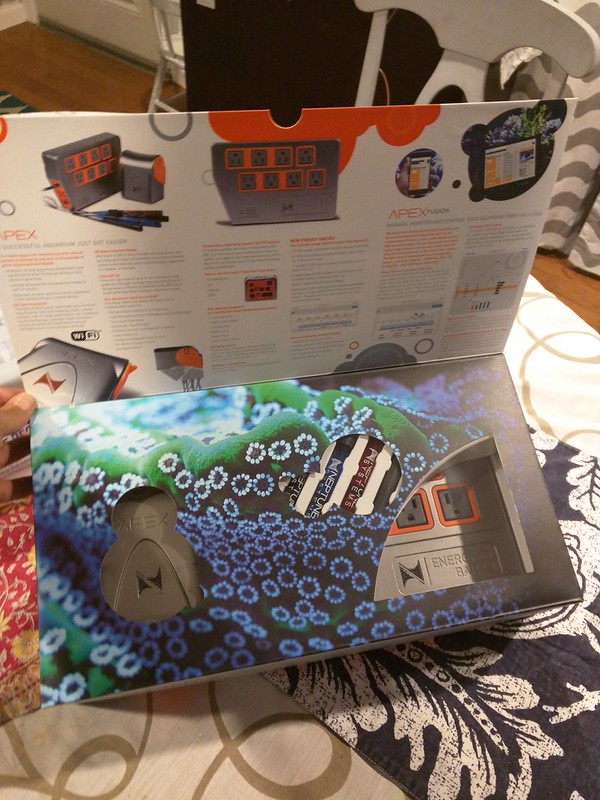
Automatic System Monitoring will be handled by the Apex 2016 edition. On my earlier tanks I originally ran Reefkeeper units but then switched to the Apex Classic, which I found far superior.

37043507632_56936ecfcd_c.jpg


37073207701_5395037a7b_c.jpg


37215691685_289a34198e_c.jpg
 
Last edited:
Sump

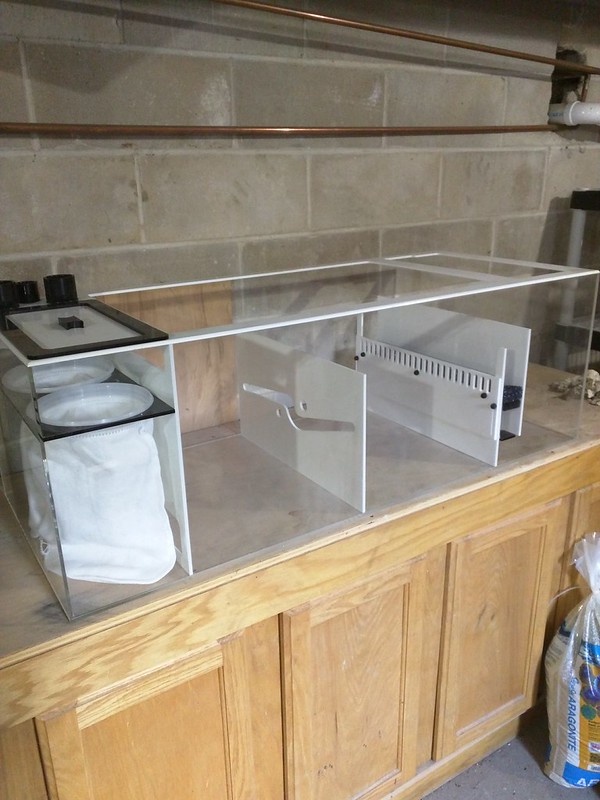
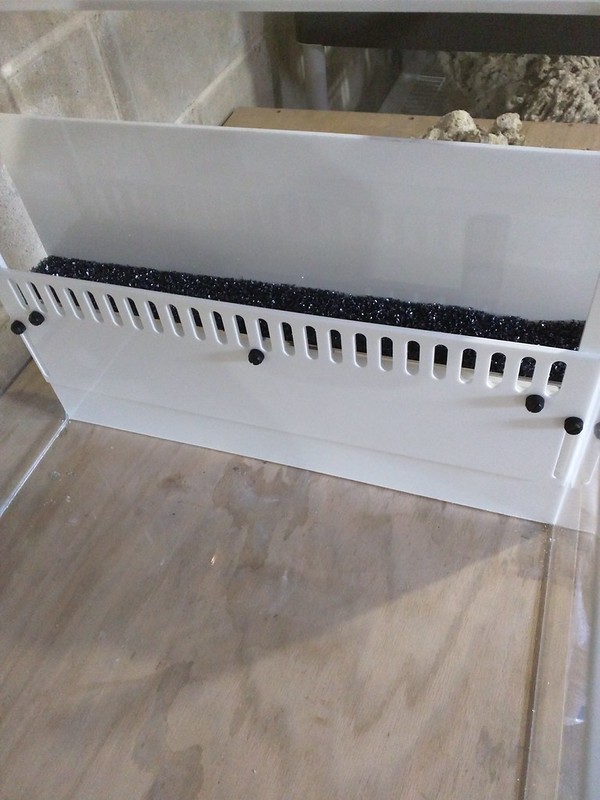
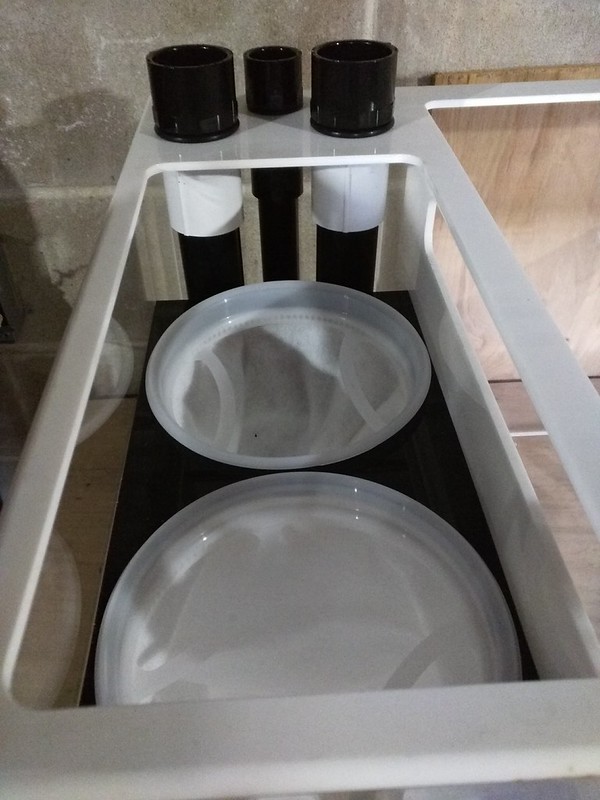
Picked up the sump today. It is a Trigger Systems Tideline 48. It measures 48″ long x 20″ wide x 16″ high and holds up to 64 gallons.

Very impressed with the build quality!

37041884556_9fa00dce8c_c.jpg


37060287802_5e22593f73_c.jpg


37041881836_4c12f8bd7e_c.jpg


36394971784_7003ff27b9_c.jpg
 
RODI

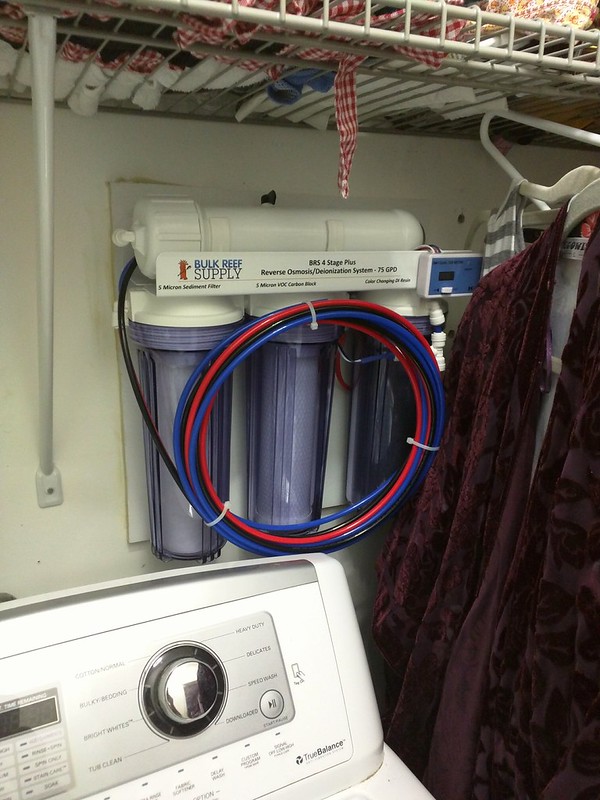
Mounted the BRS 4 Stage Plus system in our laundry room today. I decided on only the 4 stage since our water quality is known to be very good in this area, and they only add in small amounts of chlorine. In my previous builds I had a 5 stage but felt it wasn't necessarily worth the additional costs this time around.

37291023485_3cb477b93f_c.jpg


I am hoping to have the tank wet sometime this week! The stand is completed with the exception of the cabinet doors, which had a 3 week lead time.
 
Initial Aquascaping and Sand

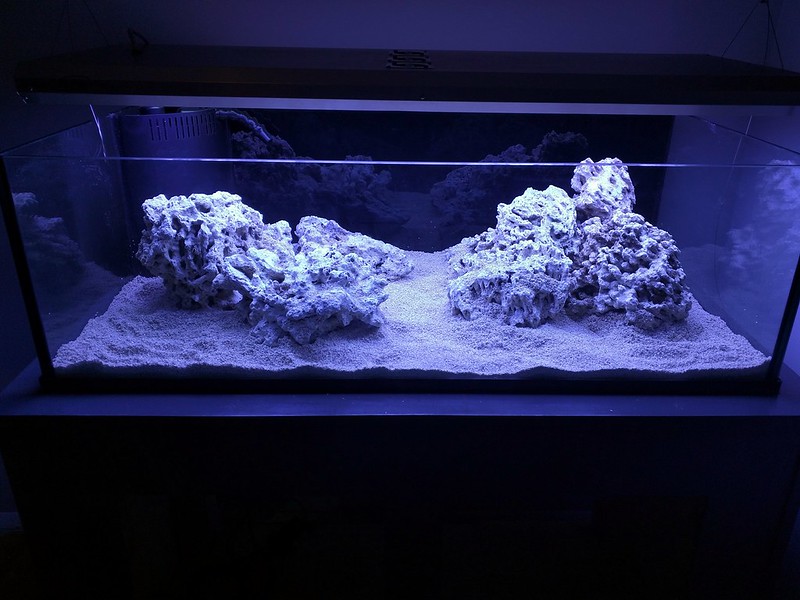
Got the initial aquascaping done using the 60lbs of BRS Pukani. I knew I wanted an open area in the middle, and to avoid just the "Wall of Rock" look. Overall I am pretty happy with it.

The sand was about 50lbs of Caribsea Special Grade Sea Floor Aragonite. I've used this sand in my previous tanks and always was happy with it.

37266138501_e061e7993c_c.jpg


Initial Fill


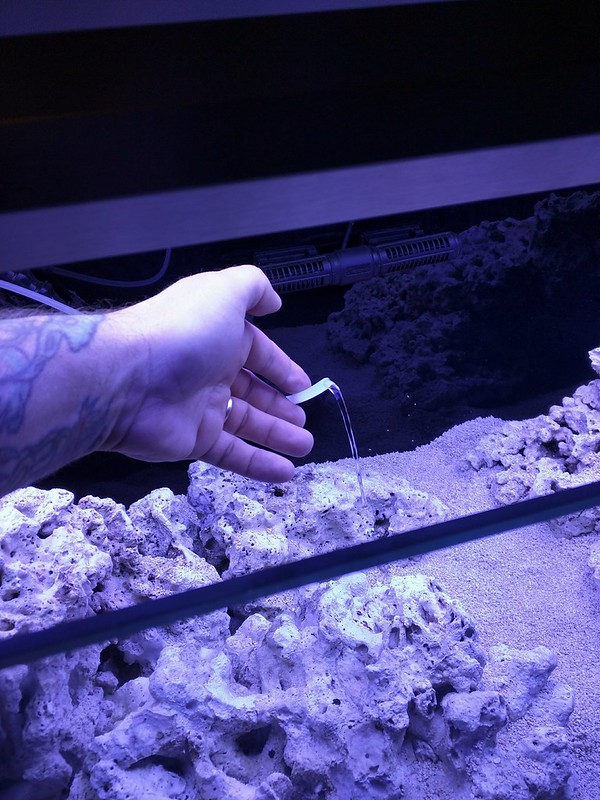
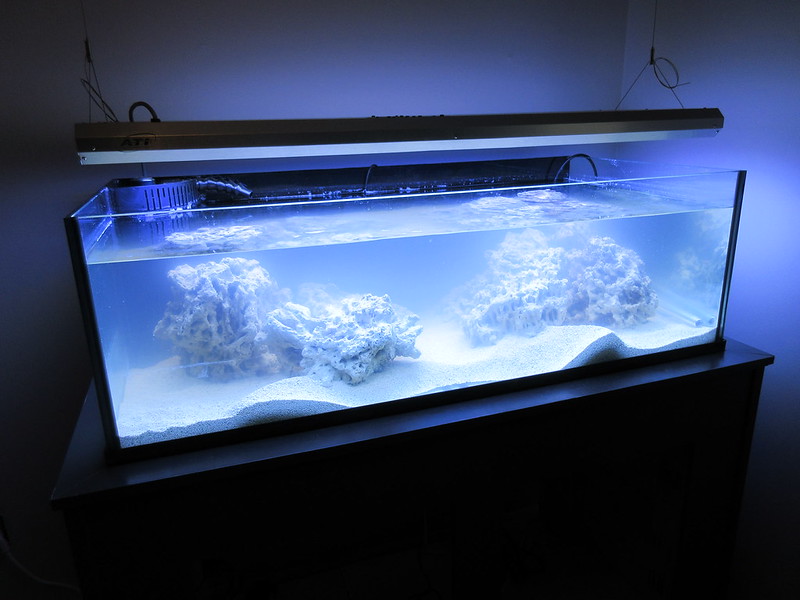
And we have water in the tank! My plan is to fill it a little bit under the overflow to get the cycle started. I haven't completed the plumbing yet, but once completed I will continue the fill into the sump.

37010647790_d863b70dc4_c.jpg
 
Cycle

The cycle is under way!

Usually I have always just gone with ghost feeding to cycle, this time around I only placed the BRS pukani rock in the tank. I figured there was enough dead organic matter, and sure enough it's moving along.

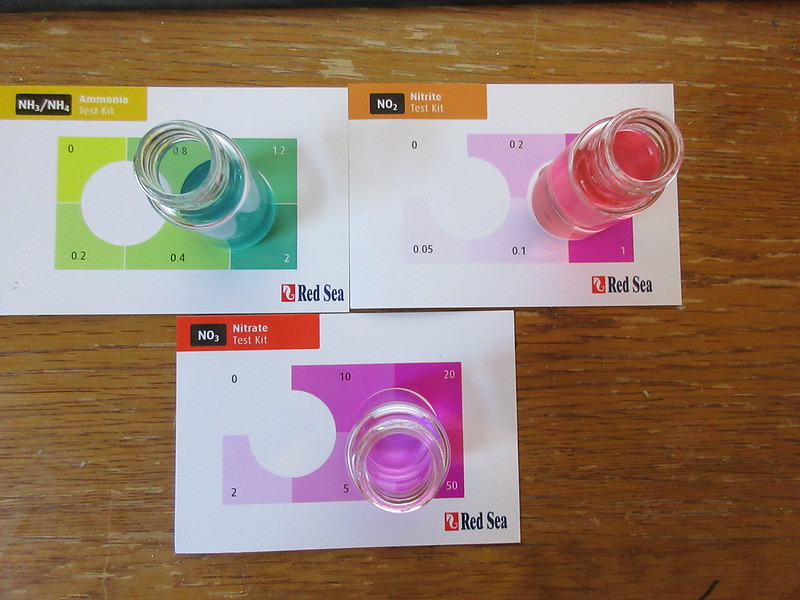
Another first for me was the use of Dr. Tim's bacteria. I'm amazed that only 2 days in, and Ammonia and Nitrites are already being converted. I will take plenty of caution of course, but it definitely seems like a great way to jump start a cycle.

37427625775_083045f7a5_c.jpg
 
I finally got my Canon 6D back! Expect much better image quality from this post forward :)

Basement

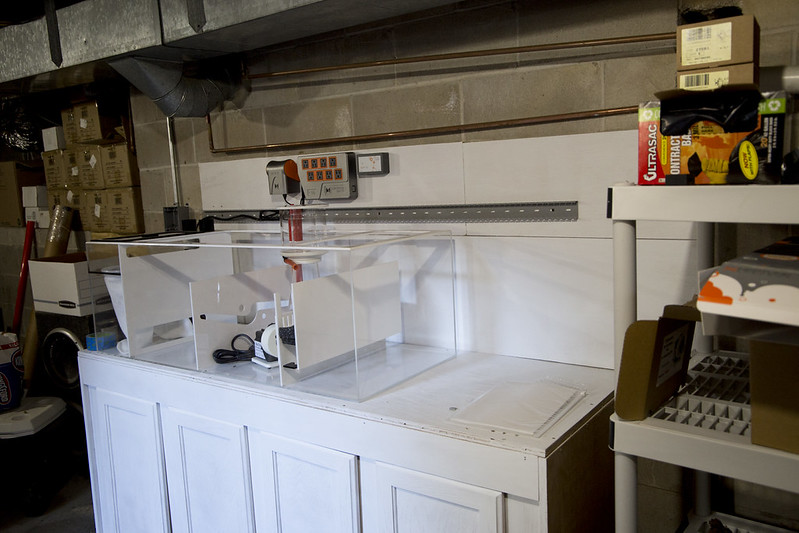
Work has been slowly coming together on the rest of the build. The sump will be located in our unfinished basement. This gives me plenty of space for current equipment needs and expansion in the future.

I am still awaiting some critical pieces to arrive to complete the plumbing as well as some other equipment that has been ordered.

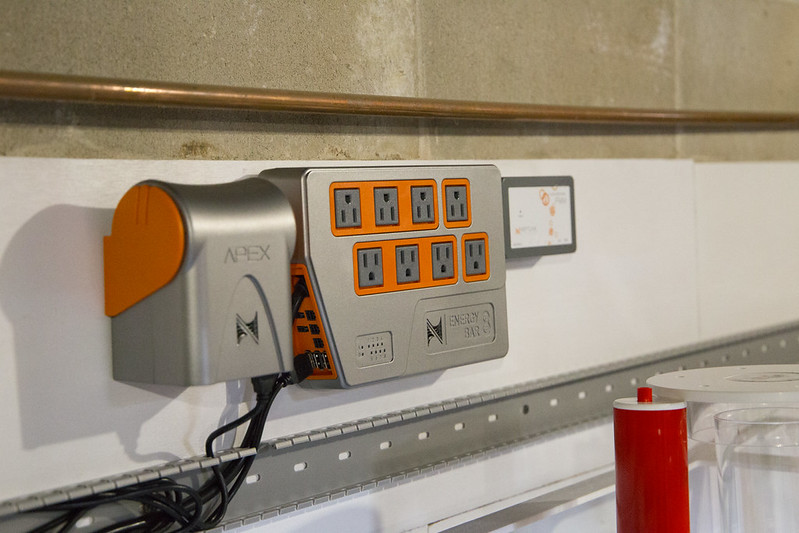
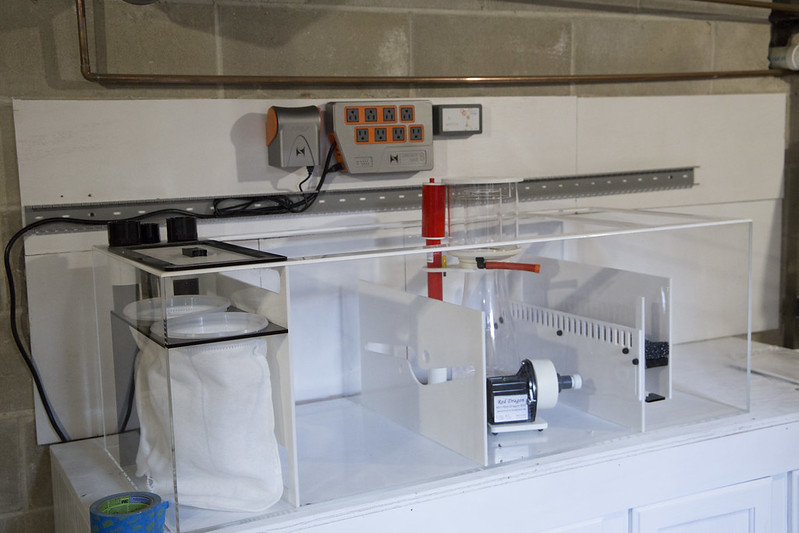
I attached some 1/2" ply to the concrete walls, and mounted the Apex, FMM and a raceway for cable management.

37349180292_b84d7d1eea_c.jpg


I began initial rough in of electrical as well, this will ultimately be a waterproof box, with 2 GFCI 20a circuits.

37379061931_586f04568a_c.jpg


Heres some shots of the Tideline 48 sump and rest as it sits now:
36670262854_df5e5600be_c.jpg


36709389153_6f415e5d7f_c.jpg
 
Sump

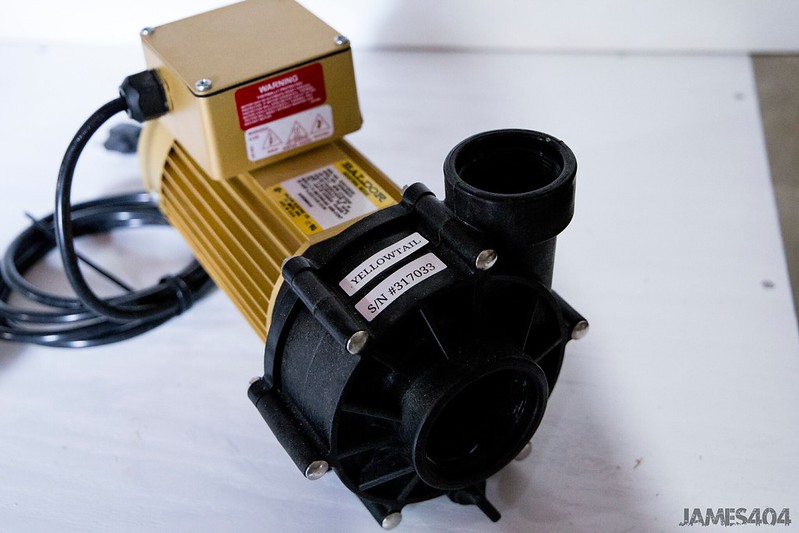
The return pump used for this build will be the Reeflo Yellowtail. I calculated the head pressure needed to be about 15-16ft. This pump seemed like the best option, although it definitely is a bit overkill. I will need to keep it dialed down quite a bit.

36745631683_97fbb3e828_c.jpg


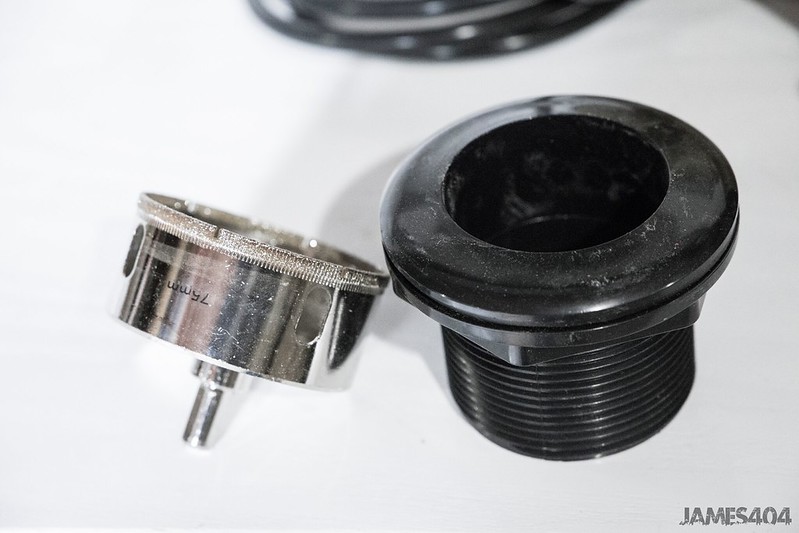
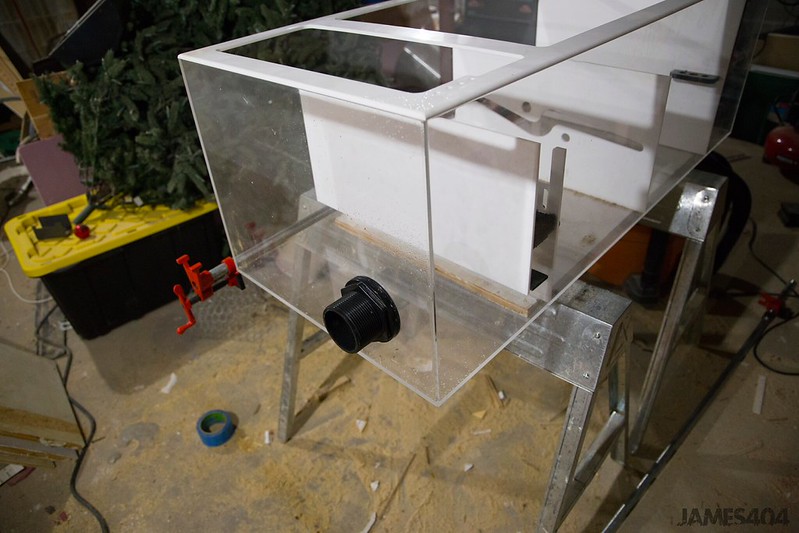
Of course, since I am using an external return, my sump will need to be drilled for the 2" input the Reeflo requires. I admit this definitely gave me some anxiety. I've drilled plenty of glass tanks before, but never a brand spankin' new acrylic sump that costs a pretty penny.

I opted to use a 75mm diamond drill bit, paired with my Dewalt hammer drill, set to regular drill mode.

37158904580_388b70c202_c.jpg


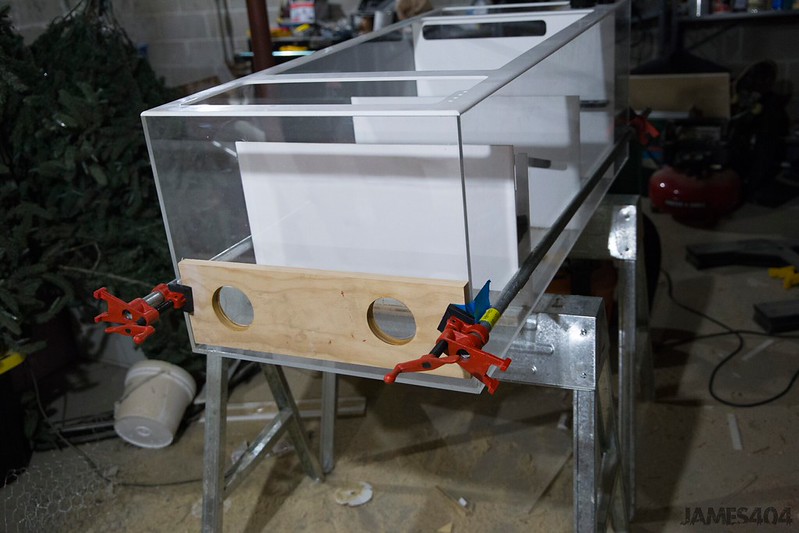
I made a template and secured it with some pipe clamps.

36745628323_376d466885_c.jpg


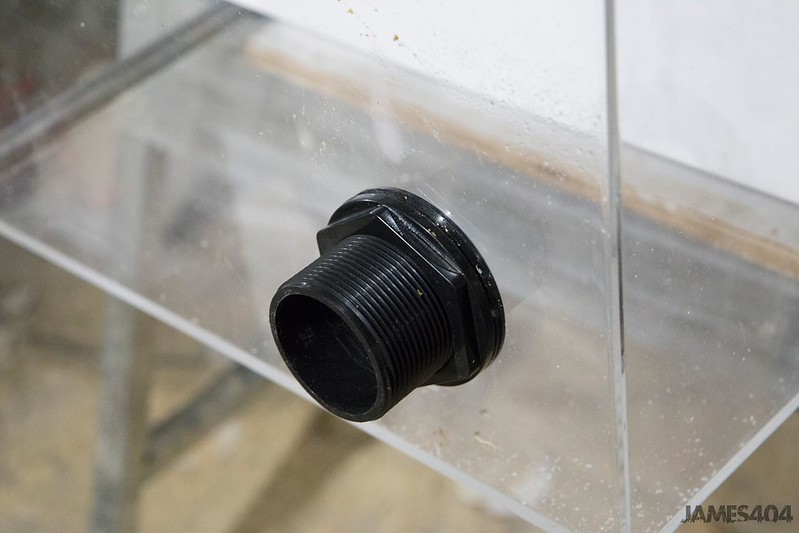
Success!

37368894846_dc36421f52_c.jpg


37158900260_bfc41f420b_c.jpg
 

IF YOU HAD TO TAKE A REEFING EXAM, WOULD YOU PASS?

  • Yes!

    Votes: 32 45.7%
  • Not yet, but I have one that I want to buy in mind!

    Votes: 9 12.9%
  • No.

    Votes: 26 37.1%
  • Other (please explain).

    Votes: 3 4.3%

New Posts

Back
Top