Innovative Marine Nuvo APS Stand review part 1: Assembly and first impressions
The APS stand for the 25 Lagoon also fits the Nuvo 40.
Sorry for the little teaser last night, but I was too excited not to post something. Last week Innovative Marine reached out to me, and offered one of their new APS stands. Although this isn't necessarily a sponsorship or affiliation yet, the basic idea is that I would be given the stand in exchange for an honest review, some decent photos, and of course a little exposure.
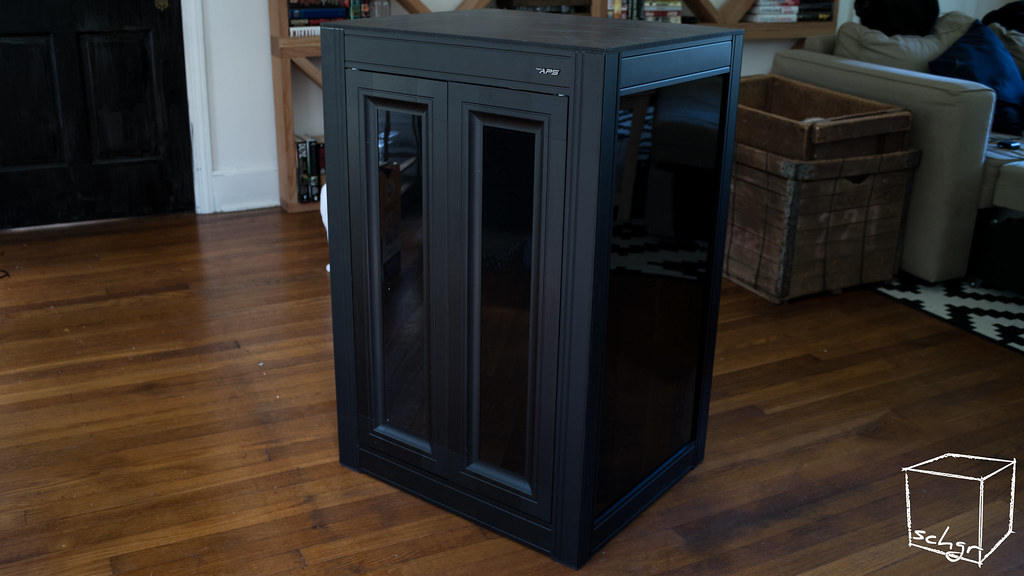
For those who haven't heard of it, the Nuvo APS (Aluminum Profile Series) is Innovative Marines new aluminum cabinet stand, which features a series of interlocking extruded "profiles" for a lightweight and sturdy stand. It comes in either black, or a faux wood and black finish.
Completed stand, just a little dirty from the construction experience.
I was a little worried at first, as the huge outer box was somewhat rough looking, but it did the job in protecting the packaging inside. Everything inside the box was wrapped up well, and covered in protective plastic. Also included was the instruction manual, a hex wrench, 4 pre cut feet, and 4 screws to affix the top panel to the frame. The only thing you will need to provide yourself is a phillips head screwdriver.
The lock on one of the profiles in the locked position.
Assembly was easy enough with the instructions provided, although IM does have a
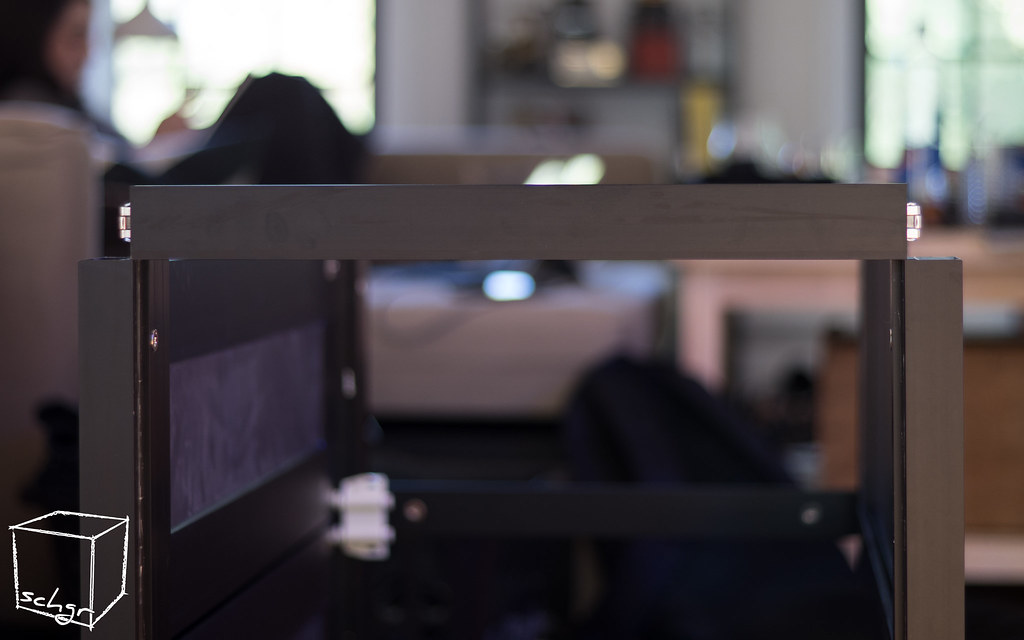
video on their YouTube channel if you need further assistance. The biggest issue I faced throughout building the stand came when I went to install the cross braces that run along the top and bottom. They appeared to be a lot bigger than the space they were supposed to fit, so I assumed I would have to spread the "profiles" apart in order to fit them in. The amount of effort it took to spread them far enough made me really nervous, as I thought I might break something, and I stopped two or three times to see if maybe I was sent the wrong parts. I eventually built up the courage to work them in properly, and once I got them in I knew it was fine. Still very nerve wracking.
This picture doesn't really do my struggles any justice, as there is a brace below that is already spreading the profiles apart. There was about a 1" difference prior to this.
All in all, I would say it probably took me 20-25 minutes to put together, with a large portion of that time spent trying to figure out if I was going to break the profiles. I did not need any assistance throughout the process, and the whole stand is light enough to lift very easily. The overall construction is very nice, and the finish is pretty unique looking with the anodized aluminum and gloss black acrylic.
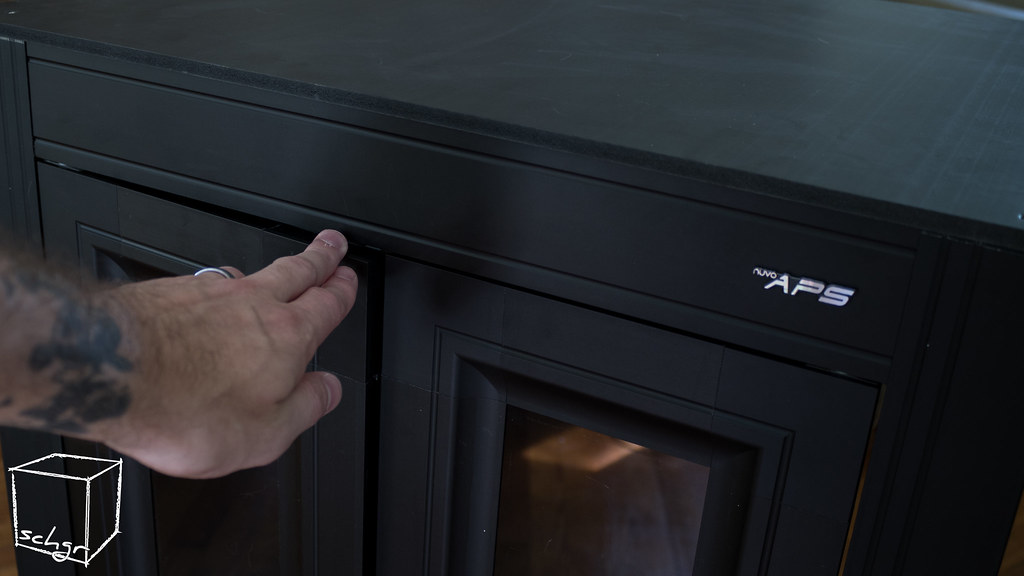
The magnetic pop out doors are also a nice touch.
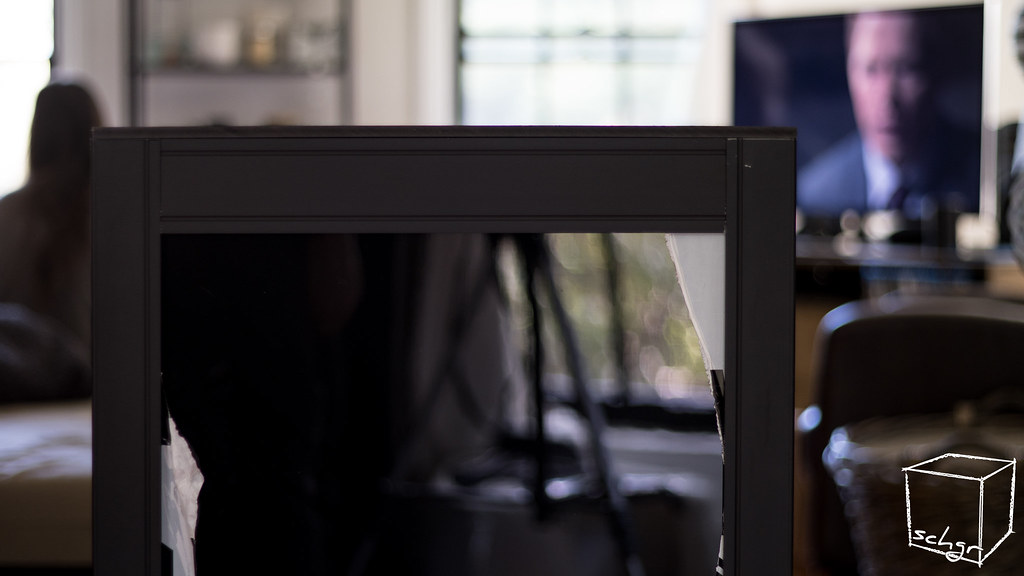
There are certainly a few cons with this stand, with one of my biggest gripes being in the protective plastic. The whole thing was absolutely covered in various types, and I felt that keeping most of it on throughout building would help things stay scratch free. This came back to haunt me later, as both of the large acrylic pieces in the pre-built sides had plastic running all the under the profiles holding them together. I wouldn't have necessarily thought to take the side pieces apart before building, since they came pre-built, so I ended up having to cut them out after the fact. There are still remnants along the edges that I am just going to ignore.
Torn pieces of plastic covering that I eventually had to cut out.
I will have to post some pictures of it later, as I didn't take any, but there are also some poor cuts on pieces of aluminum that ended up being visible on the final build. The doors also look a bit off, as the corner pieces look like painted plastic, and have a slightly different finish from the aluminum that really makes them stand out. The back of the stand could also use a few small touches, just to increase usability and bring this stand to a whole other level. A 3/4 or 1/2 back panel would be great to mount some electronics to, as right now there are only really the sides and you may not want to do that depending on your situation. I would also love for IM to create some sort of light mounting bar attachment, or even their own light hanging system that you could adapt to whatever light you have. I debating drilling into mine for some piping to run up the back of each side, but will stick to leaving mine mounted to the wall instead.

Switching these out is going to be a huge PITA, but the APS stand definitely looks better than my unfinished DIY stand. Ignore my droopy door.
I am very happy with the stand overall, and any opportunities it has are really mostly quality of life improvements. I am very glad they sent me the black version, as I would had to have a pretty interesting room to pull off their faux wood option. A white version would be great, and somehow finding a way to do a raw aluminum with clear anodization would be prefect for me with my raw metal NanoBox Hybrid! I'll have to post more pictures once I make the switch, and see how I will manage the interior and my cable management. Let me know if you have any questions about anything! Thanks for reading.